最近更新于 2024-05-05 14:19
测试环境
公网IP服务器端:阿里云学生机-轻量服务器(Ubuntu 20.04)
内网客户端设备:树莓派 cm4(官方64位系统2022 Debian 11)
—————————————————————————
frp 项目地址:https://github.com/fatedier/frp
可执行文件下载地址:https://github.com/fatedier/frp/releases
软件版本的选择:
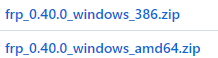
① Windows 电脑:分别对应 32 位(x86)和 64位(x86_64)
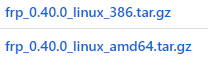
② Linux 电脑:分别对应 32 位(x86)和 64位(x86_64)
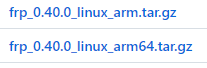
③ 树莓派/Jetson :分别对应 32 位(armhf)和 64位(aarch64)
我这里服务器端是要运行在 Ubuntu 20.04 的云服务器上

所以应对应上面 ② 中 64 位情况下载
客户端我是要运行在树莓派 cm4

所以应对应上面 ③ 中 64 位情况下载
使用 tar xvf [包名] 进行解压,服务器端只取对应包中的 frps 文件(frp server),客户端只取对应包中的 frpc 文件(frp client)
记得添加可执行权限 chmod a+x 【文件名】
————————————————————————————————————————————
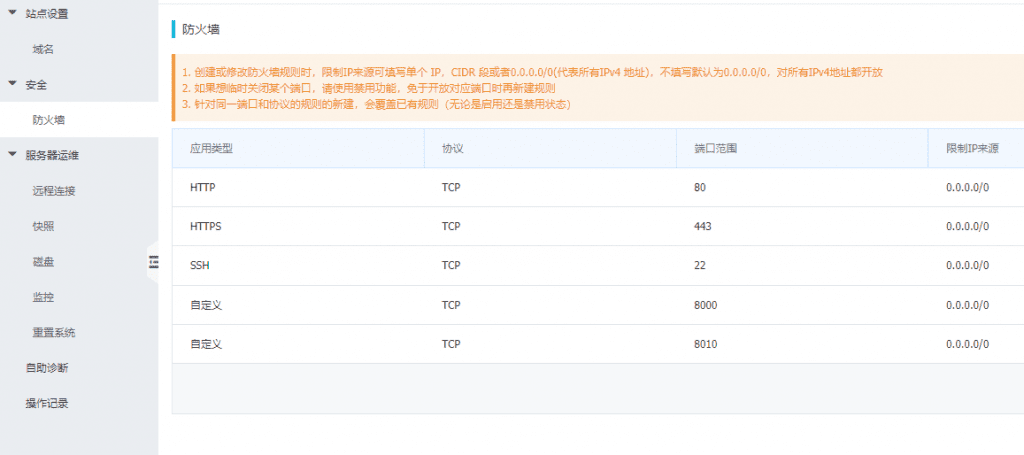
测试时服务器端公网对外访问开放端口 8000,另外开放 8010 端口用于代理客户端连接
实用场景
(1)web 服务
frps 端写配置文件 frps.ini
# frps.ini
[common]
bind_port = 8010
vhost_http_port = 8000
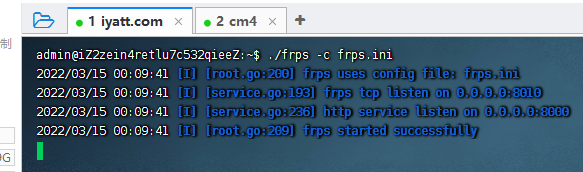
启动服务器端 ./frps -c frps.ini
frpc 端写配置文件 frpc.ini
# frpc.ini
[common]
# 这里示例的公网服务器就是我这个博客网站的服务器,地址就用 iyatt.com 来指定了,没有域名就写服务器IP
server_addr = iyatt.com
# 服务器端开放给客户端连接的端口
server_port = 8010

[web]
# 使用 http:// 头访问
type = http
# 指定本地 web 端口
local_port = 10000
# 指定网站访问域名,注意这里设置的域名,另外还要设置域名解析(即要求可以正常使用的域名),没有域名就写服务器IP
custom_domains = test.iyatt.com
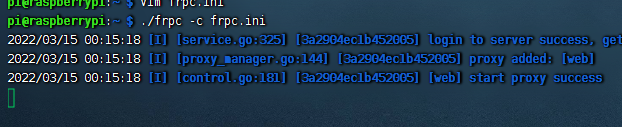
启动客户端 ./frpc -c frpc.ini
创建一个文件名为 index.html
<!DOCTYPE html>
<html>
<head>
<meta charset="utf-8">
<title>test</title>
</head>
<body>
    Hello World.
</body>
</html>
web 服务器就用 Python 来开启,在 index.html 所在目录执行
python3 -m http.server 10000
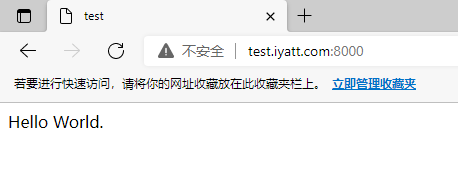
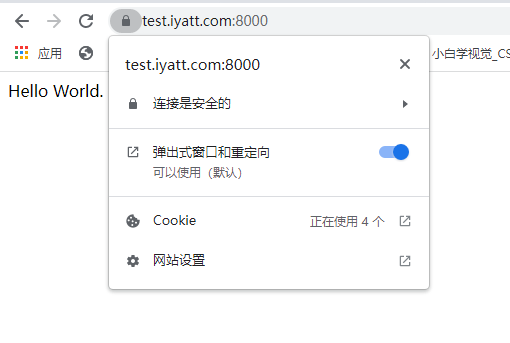
测试公网访问
——————————————————————————————
——————————————————————————————
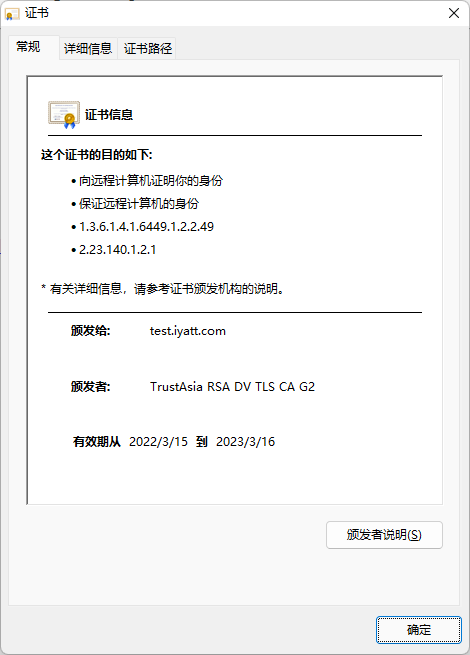
上面是配置的 http,如果要配置 https,就还要另外设置证书文件
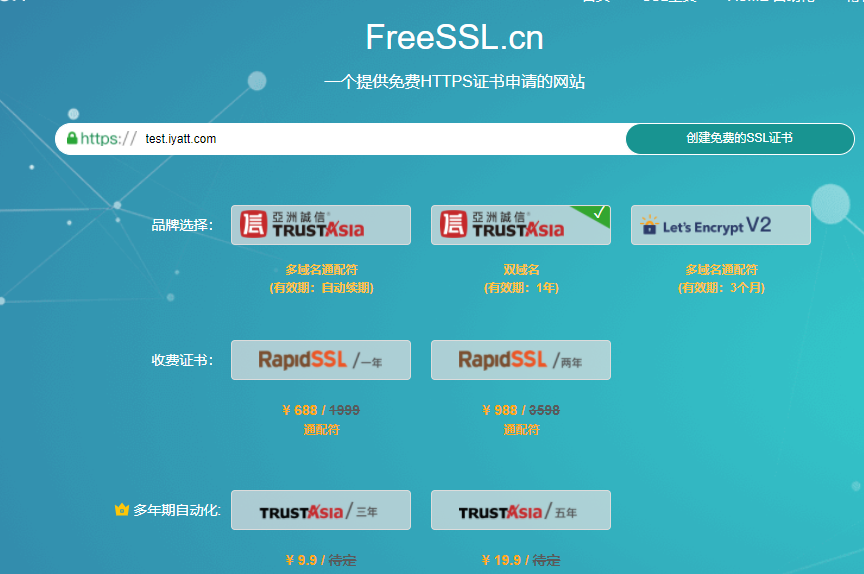
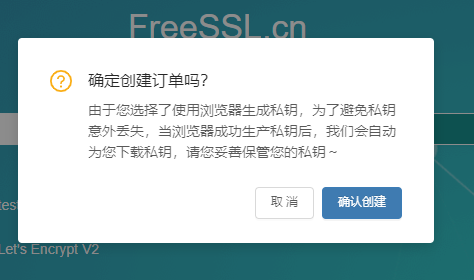
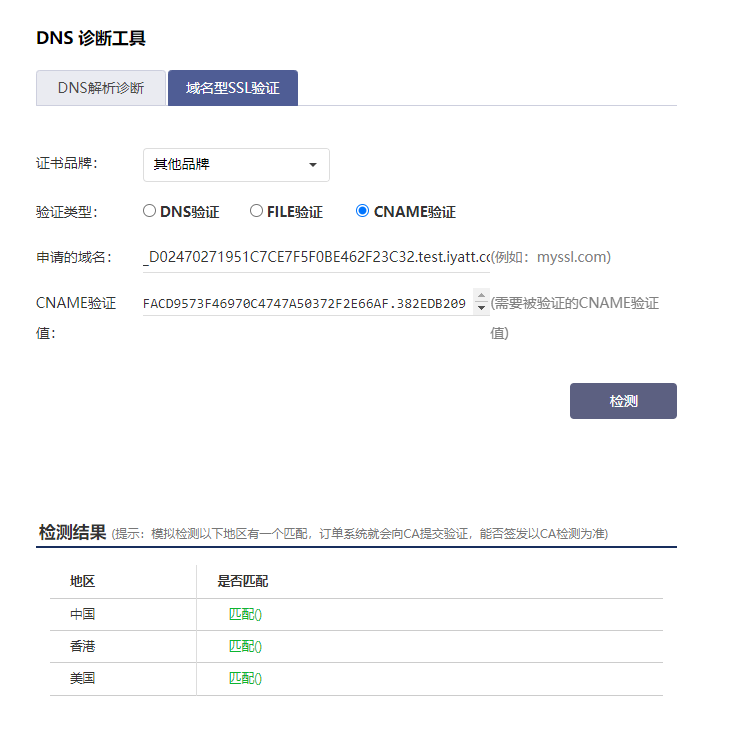
先申请证书:https://freessl.cn
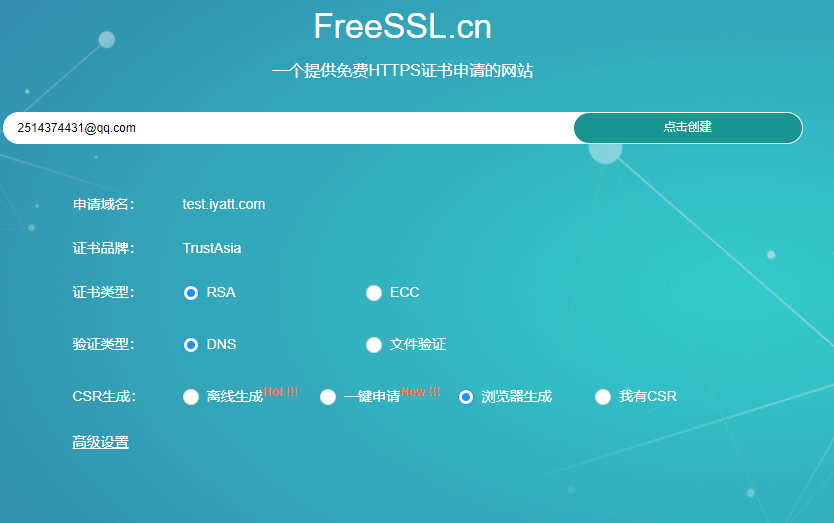
然后按要求去域名服务商的控制台设置解析

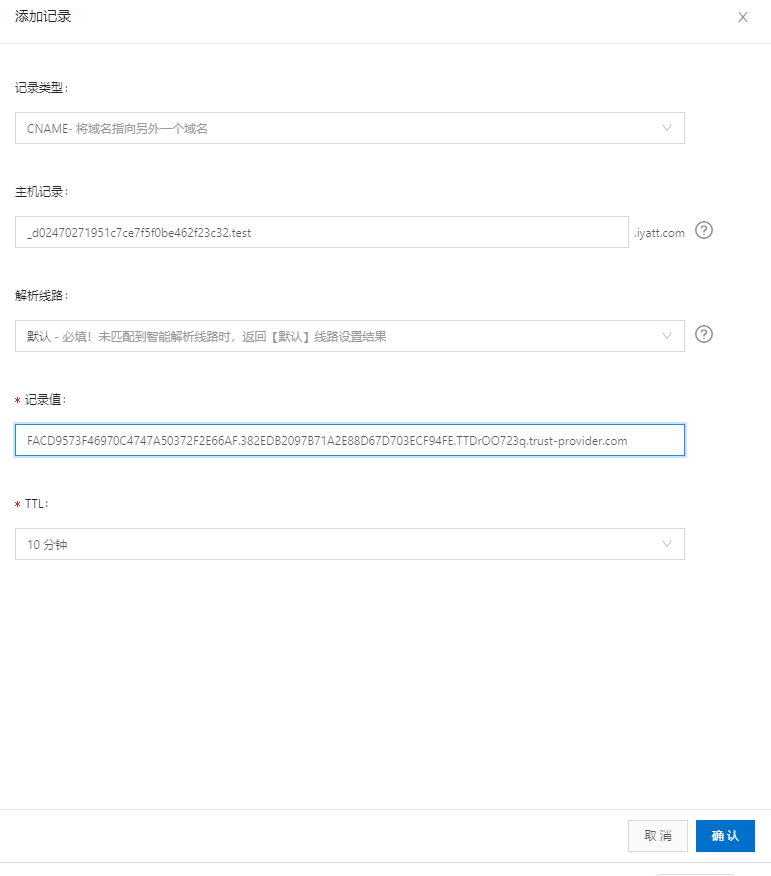
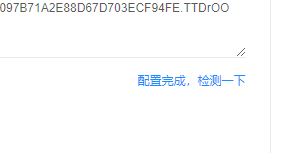
先检测一下
看到匹配了,那说明没问题了,再点击验证(如果直接点验证,但是DNS还没更新,导致验证失败就要等十分钟后才能再试)

如果提示订单未完成的话,就等几分钟再试试
验证成功后,会自动下载证书文件,文件名为申请时的域名
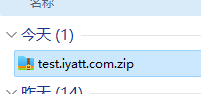
解压可以看到两个文件,公钥和私钥

——————————————————
配置 frps
# frps.ini
[common]
bind_port = 8010
vhost_https_port = 8000
然后开始配置 frpc
# frpc.ini
[common]
server_addr = iyatt.com
server_port = 8010

[test_htts2http]
type = https
custom_domains = test.iyatt.com
plugin = https2http
# 本地 web 服务开的端口是 10000
plugin_local_addr = 127.0.0.1:10000

# 将上面申请的证书文件路径配置到这里
plugin_crt_path = /home/pi/full_chain.pem
plugin_key_path = /home/pi/private.key
plugin_host_header_rewrite = 127.0.0.1
(2)文件访问服务
frps 配置
# frps.ini
[common]
bind_port = 8010
frpc 配置
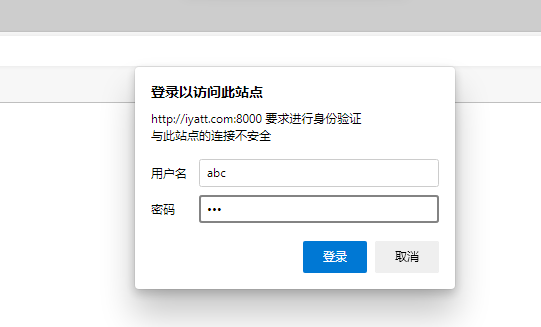
# frpc.ini
[common]
server_addr = iyatt.com
server_port = 8010

[test_static_file]
type = tcp
# 公网对外访问的端口
remote_port = 8000
plugin = static_file
# 对外提供访问的目录
plugin_local_path = /home/pi
# 访问用户名和密码
plugin_http_user = abc
plugin_http_passwd = abc
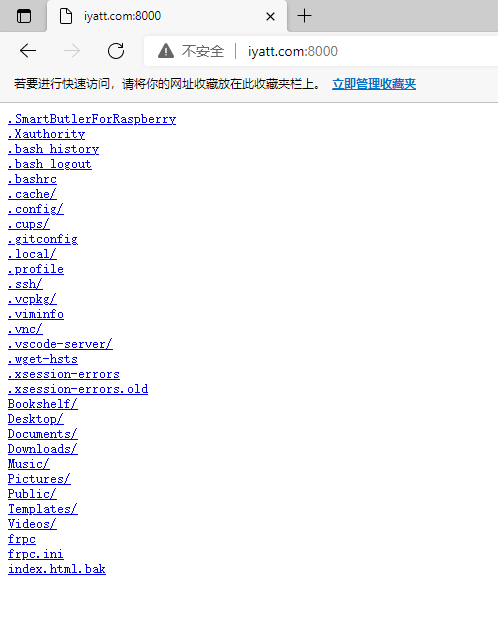
当然如果在下面有 index.html 文件,一样也可以解析网页。对于没有域名但是有公网服务器的人来说,可以通过这种方式提供 web 服务,可以使用 ip 访问。
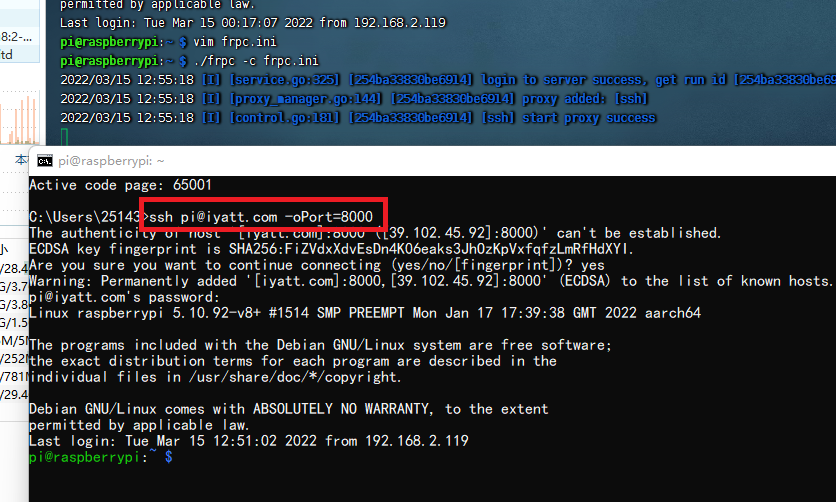
(3)ssh 连接
frps 配置
# frps.ini
[common]
bind_port = 8010
frpc 配置
# frpc.ini
[common]
server_addr = iyatt.com
server_port = 8010

[ssh]
type = tcp
# 本地 ssh 默认端口是 22
local_port = 22
# 公网访问端口
remote_port = 8000