最近更新于 2026-02-28 22:52
环境
- 树莓派CM4
- raspios 20240704 Debian 12 arm64
- Nextcloud 30.0.0、30.0.6
搭建 LNMP 环境
安装 Nginx
sudo apt update
sudo apt install -y nginx
安装 php 及功能组件支持
参考:https://docs.nextcloud.com/server/latest/admin_manual/installation/php_configuration.html
sudo apt install -y php php-common php-fpm php-curl php-xml php-fileinfo php-gd php-json php-mbstring php-posix php-simplexml php-xmlreader php-xmlwriter php-zip php-mysql php-intl php-ldap php-ftp php-imap php-bcmath php-gmp php-exif php-apcu php-memcached php-redis php-imagick php-tidy php-uuid php-gnupg ffmpeg安装数据库
MySQL 官方没有提供适用 Debian 12 arm64 的二进制安装包
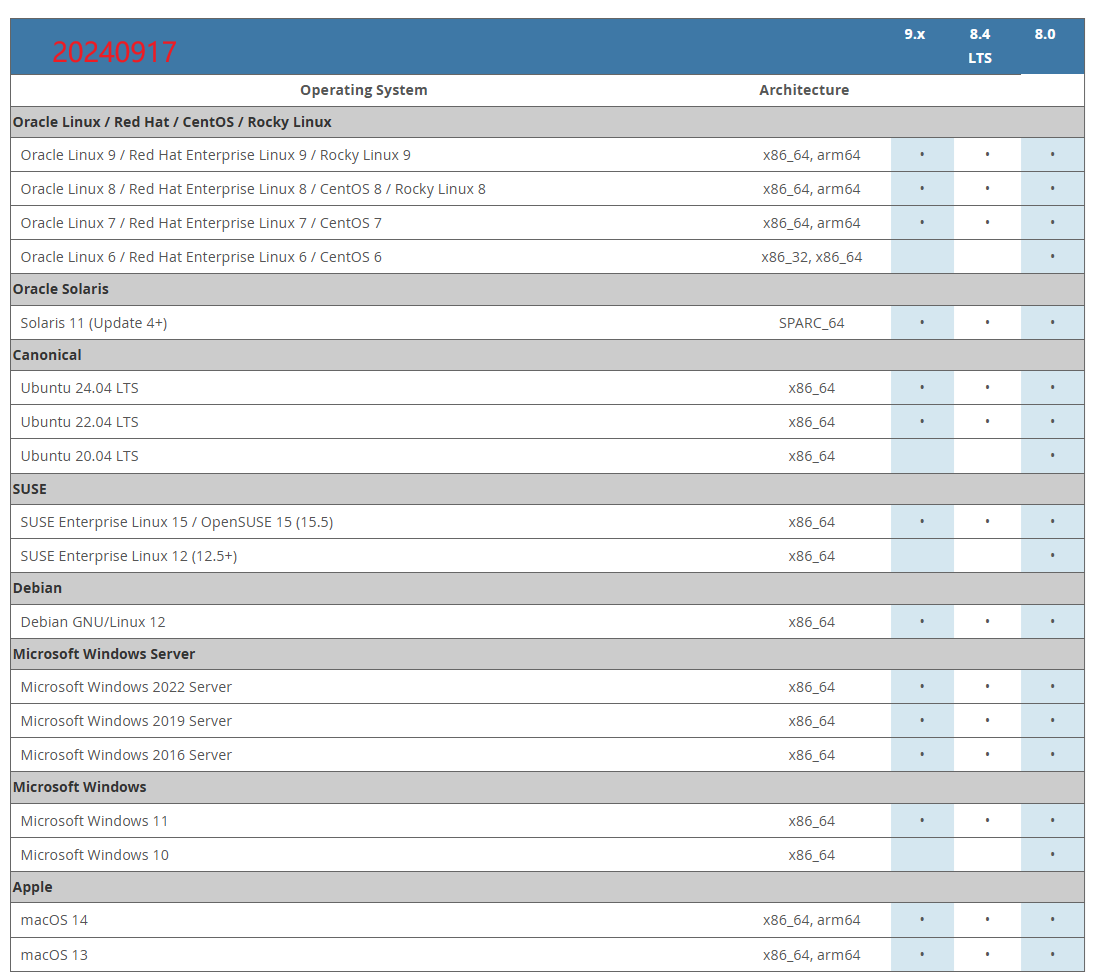
可以自己用 MySQL 社区版源码编译或者找三方编译的安装包,这里使用 MySQL 的开源替代软件 Mariadb,可以直接用官方软件源安装
sudo apt install -y mariadb-server配置 Nginx 和 PHP 连接
参考:https://docs.nextcloud.com/server/latest/admin_manual/installation/nginx.html#nextcloud-in-the-webroot-of-nginx
以 root 权限编辑 /etc/nginx/sites-available/default,写入(只是模板,需要自己改)
这个配置比较适用配置在公网服务器
upstream php-handler {
    # server 127.0.0.1:9000;
    server unix:/run/php/php-fpm.sock;
}

# Set the `immutable` cache control options only for assets with a cache busting `v` argument
map $arg_v $asset_immutable {
    "" "";
    default ", immutable";
}

server {
    # http
    listen 80;
    listen [::]:80;
    server_name cloud.example.com; # 自己的域名,IP 访问改为一个下划线

    # Prevent nginx HTTP Server Detection
    server_tokens off;

    # Enforce HTTPS
    return 301 https://$server_name$request_uri;
}

server {
    # https
    # 如果不是部署到公网,就将上一个 server 删掉,把这里的监听 443 端口改为 80,并删掉 **ssl http2**
    listen 443 ssl http2;
    listen [::]:443 ssl http2;
    # With NGinx >= 1.25.1 you should use this instead:
    # listen 443      ssl;
    # listen [::]:443 ssl;
    # http2 on;
    server_name cloud.example.com; # 自己的域名,IP 访问改为一个下划线

    # Path to the root of your installation
    # Nextcloud 网站源码放置路径
    root /var/www/nextcloud;

    # Use Mozilla's guidelines for SSL/TLS settings
    # https://mozilla.github.io/server-side-tls/ssl-config-generator/
    # SSL 证书文件路径,配置 https 访问需要,
    ssl_certificate     /etc/nginx/cloud.example.com.crt;
    ssl_certificate_key /etc/nginx/cloud.example.com.key;

    # Prevent nginx HTTP Server Detection
    server_tokens off;

    # HSTS settings
    # WARNING: Only add the preload option once you read about
    # the consequences in https://hstspreload.org/. This option
    # will add the domain to a hardcoded list that is shipped
    # in all major browsers and getting removed from this list
    # could take several months.
    #add_header Strict-Transport-Security "max-age=15768000; includeSubDomains; preload" always;

    # set max upload size and increase upload timeout:
    client_max_body_size 512M;
    client_body_timeout 300s;
    fastcgi_buffers 64 4K;

    # Enable gzip but do not remove ETag headers
    gzip on;
    gzip_vary on;
    gzip_comp_level 4;
    gzip_min_length 256;
    gzip_proxied expired no-cache no-store private no_last_modified no_etag auth;
    gzip_types application/atom+xml text/javascript application/javascript application/json application/ld+json application/manifest+json application/rss+xml application/vnd.geo+json application/vnd.ms-fontobject application/wasm application/x-font-ttf application/x-web-app-manifest+json application/xhtml+xml application/xml font/opentype image/bmp image/svg+xml image/x-icon text/cache-manifest text/css text/plain text/vcard text/vnd.rim.location.xloc text/vtt text/x-component text/x-cross-domain-policy;

    # Pagespeed is not supported by Nextcloud, so if your server is built
    # with the `ngx_pagespeed` module, uncomment this line to disable it.
    #pagespeed off;

    # The settings allows you to optimize the HTTP2 bandwidth.
    # See https://blog.cloudflare.com/delivering-http-2-upload-speed-improvements/
    # for tuning hints
    client_body_buffer_size 512k;

    # HTTP response headers borrowed from Nextcloud `.htaccess`
    add_header Referrer-Policy                   "no-referrer"       always;
    add_header X-Content-Type-Options            "nosniff"           always;
    add_header X-Frame-Options                   "SAMEORIGIN"        always;
    add_header X-Permitted-Cross-Domain-Policies "none"              always;
    add_header X-Robots-Tag                      "noindex, nofollow" always;
    add_header X-XSS-Protection                  "1; mode=block"     always;

    # Remove X-Powered-By, which is an information leak
    fastcgi_hide_header X-Powered-By;

    # Set .mjs and .wasm MIME types
    # Either include it in the default mime.types list
    # and include that list explicitly or add the file extension
    # only for Nextcloud like below:
    include mime.types;
    types {
        text/javascript mjs;
    application/wasm wasm;
    }

    # Specify how to handle directories -- specifying `/index.php$request_uri`
    # here as the fallback means that Nginx always exhibits the desired behaviour
    # when a client requests a path that corresponds to a directory that exists
    # on the server. In particular, if that directory contains an index.php file,
    # that file is correctly served; if it doesn't, then the request is passed to
    # the front-end controller. This consistent behaviour means that we don't need
    # to specify custom rules for certain paths (e.g. images and other assets,
    # `/updater`, `/ocs-provider`), and thus
    # `try_files $uri $uri/ /index.php$request_uri`
    # always provides the desired behaviour.
    index index.php index.html /index.php$request_uri;

    # Rule borrowed from `.htaccess` to handle Microsoft DAV clients
    location = / {
        if ( $http_user_agent ~ ^DavClnt ) {
            return 302 /remote.php/webdav/$is_args$args;
        }
    }

    location = /robots.txt {
        allow all;
        log_not_found off;
        access_log off;
    }

    # Make a regex exception for `/.well-known` so that clients can still
    # access it despite the existence of the regex rule
    # `location ~ /(\.|autotest|...)` which would otherwise handle requests
    # for `/.well-known`.
    location ^~ /.well-known {
        # The rules in this block are an adaptation of the rules
        # in `.htaccess` that concern `/.well-known`.

        location = /.well-known/carddav { return 301 /remote.php/dav/; }
        location = /.well-known/caldav  { return 301 /remote.php/dav/; }

        location /.well-known/acme-challenge    { try_files $uri $uri/ =404; }
        location /.well-known/pki-validation    { try_files $uri $uri/ =404; }

        # Let Nextcloud's API for `/.well-known` URIs handle all other
        # requests by passing them to the front-end controller.
        return 301 /index.php$request_uri;
    }

    # Rules borrowed from `.htaccess` to hide certain paths from clients
    location ~ ^/(?:build|tests|config|lib|3rdparty|templates|data)(?:$|/)  { return 404; }
    location ~ ^/(?:\.|autotest|occ|issue|indie|db_|console)                { return 404; }

    # Ensure this block, which passes PHP files to the PHP process, is above the blocks
    # which handle static assets (as seen below). If this block is not declared first,
    # then Nginx will encounter an infinite rewriting loop when it prepends `/index.php`
    # to the URI, resulting in a HTTP 500 error response.
    location ~ \.php(?:$|/) {
        # Required for legacy support
        rewrite ^/(?!index|remote|public|cron|core\/ajax\/update|status|ocs\/v[12]|updater\/.+|ocs-provider\/.+|.+\/richdocumentscode(_arm64)?\/proxy) /index.php$request_uri;

        fastcgi_split_path_info ^(.+?\.php)(/.*)$;
        set $path_info $fastcgi_path_info;

        try_files $fastcgi_script_name =404;

        include fastcgi_params;
        fastcgi_param SCRIPT_FILENAME $document_root$fastcgi_script_name;
        fastcgi_param PATH_INFO $path_info;
        fastcgi_param HTTPS on;

        fastcgi_param modHeadersAvailable true;         # Avoid sending the security headers twice
        fastcgi_param front_controller_active true;     # Enable pretty urls
        fastcgi_pass php-handler;

        fastcgi_intercept_errors on;
        fastcgi_request_buffering off;

        fastcgi_max_temp_file_size 0;
    }

    # Serve static files
    location ~ \.(?:css|js|mjs|svg|gif|ico|jpg|png|webp|wasm|tflite|map|ogg|flac)$ {
        try_files $uri /index.php$request_uri;
        # HTTP response headers borrowed from Nextcloud `.htaccess`
        add_header Cache-Control                     "public, max-age=15778463$asset_immutable";
        add_header Referrer-Policy                   "no-referrer"       always;
        add_header X-Content-Type-Options            "nosniff"           always;
        add_header X-Frame-Options                   "SAMEORIGIN"        always;
        add_header X-Permitted-Cross-Domain-Policies "none"              always;
        add_header X-Robots-Tag                      "noindex, nofollow" always;
        add_header X-XSS-Protection                  "1; mode=block"     always;
        access_log off;     # Optional: Don't log access to assets
    }

    location ~ \.woff2?$ {
        try_files $uri /index.php$request_uri;
        expires 7d;         # Cache-Control policy borrowed from `.htaccess`
        access_log off;     # Optional: Don't log access to assets
    }

    # Rule borrowed from `.htaccess`
    location /remote {
        return 301 /remote.php$request_uri;
    }

    location / {
        try_files $uri $uri/ /index.php$request_uri;
    }
}
安装 Nextcloud
Nextcloud 网站源码下载:https://nextcloud.com/install/
展开社区项目

下载 ZIP 包
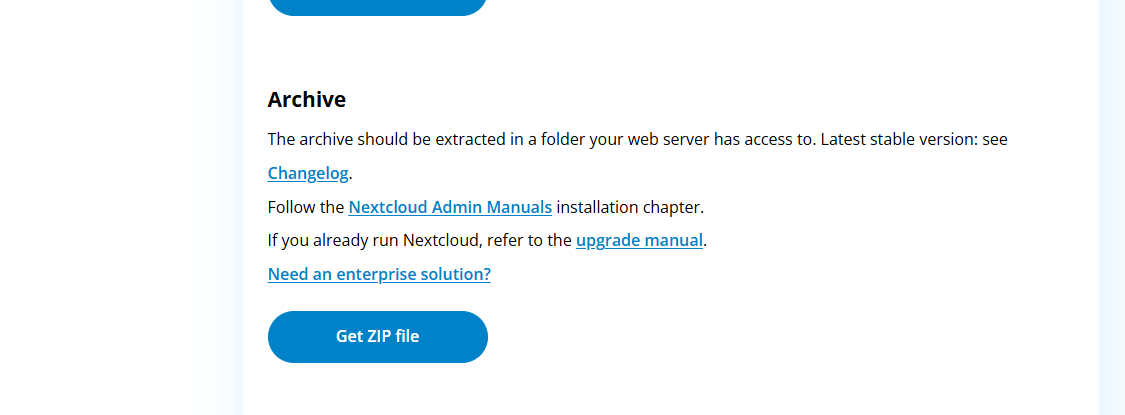
解压得到的 nextcloud 放到 /var/www 路径下,并在这个路径下修改文件权限:https://blog.iyatt.com/?p=14780
后面创建数据库和配置安装和 WordPress 差不多:https://blog.iyatt.com/?p=12732#WordPress_%E5%AE%89%E8%A3%85
只是登录数据库 root 的方式从 mysql -u root -p 改为 sudo mysql
访问页面,首次配置一下数据库连接信息和登录账号
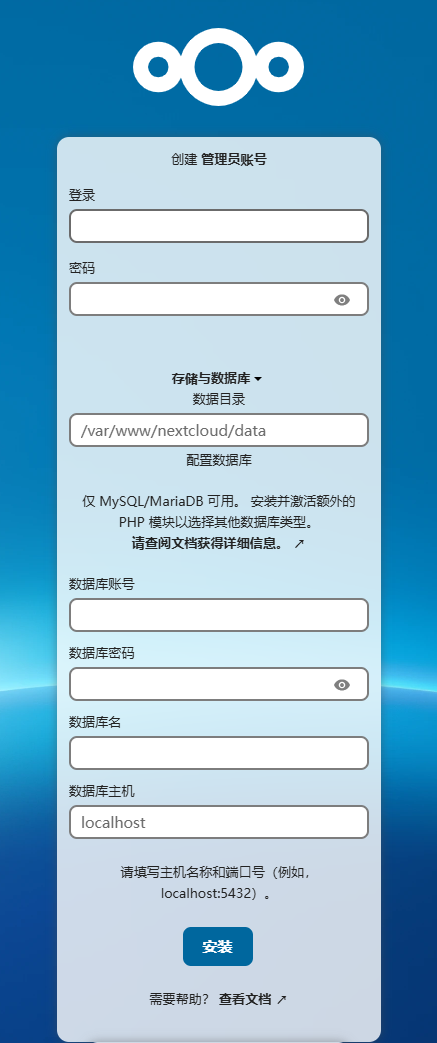
然后登录进入页面
改进配置
修改 PHP 限制
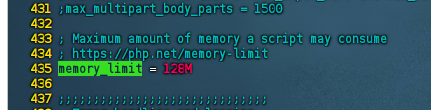
Nextcloud 建议 php 内存限制至少有 512M,根据自己实际情况调整,我这里树莓派有 8G 内存,直接把 PHP 限制改为 1G
以 root 权限编辑 /etc/php/8.2/fpm/php.ini,路径中的 8.2 是 php 版本,根据自己的实际情况修改
找到 memory_limt 把后面的值修改了
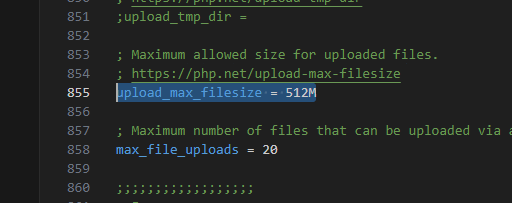
修改上传文件大小限制(upload_max_filesize),默认 2M,这里改为 512M
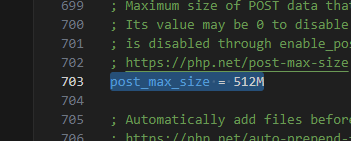
修改 post 大小限制(post_max_size),默认 8M,这里改为 512M
然后重启 php-fpm,其中 8.2 换成自己的 php 版本
sudo systemctl restart php8.2-fpm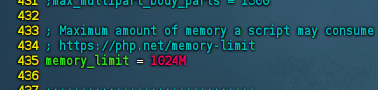
后台任务使用 cron 执行
创建定时任务
sudo crontab -u www-data -e自己选择一个编辑器,然后写入(/var/www/nextcloud 是网站文件路径)
*/5 * * * * /usr/bin/php -f /var/www/nextcloud/cron.php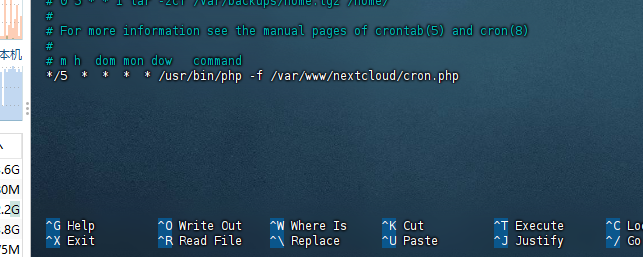
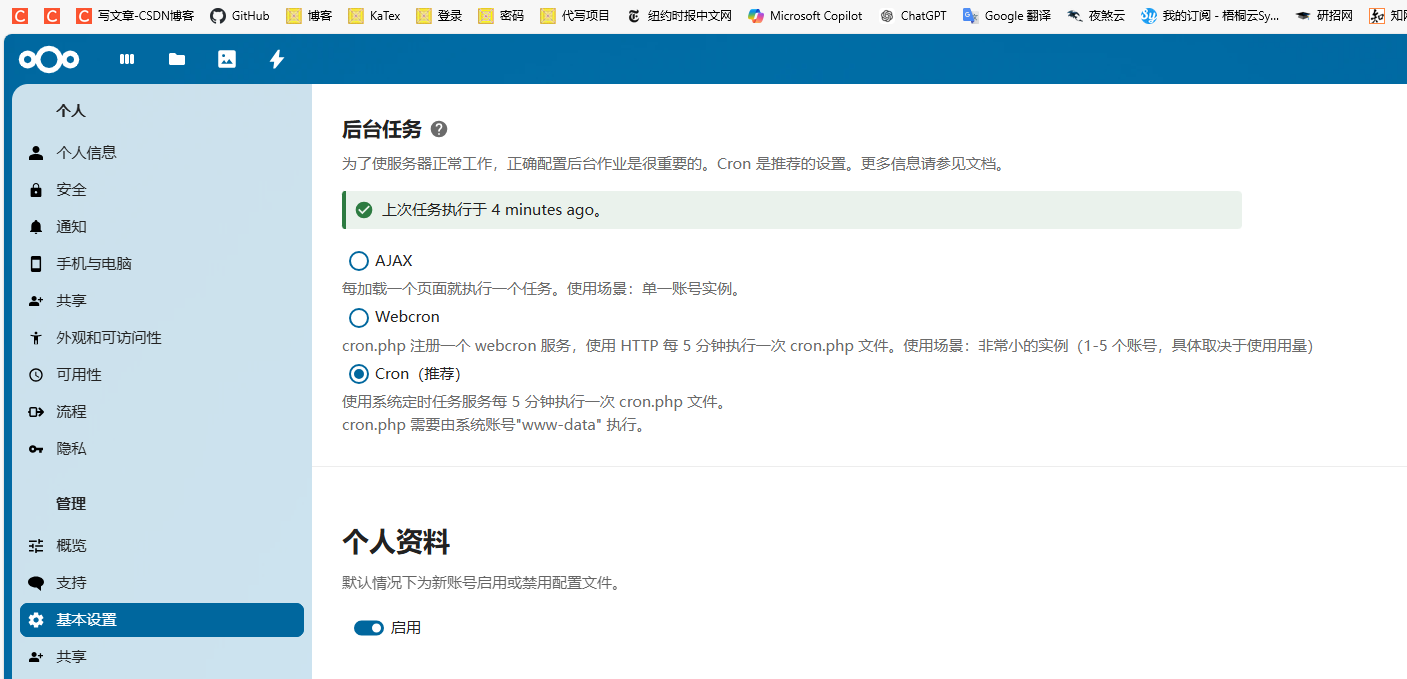
然后 Nextcloud 设置 -> 基本设置 -> 后台任务,选择 Cron
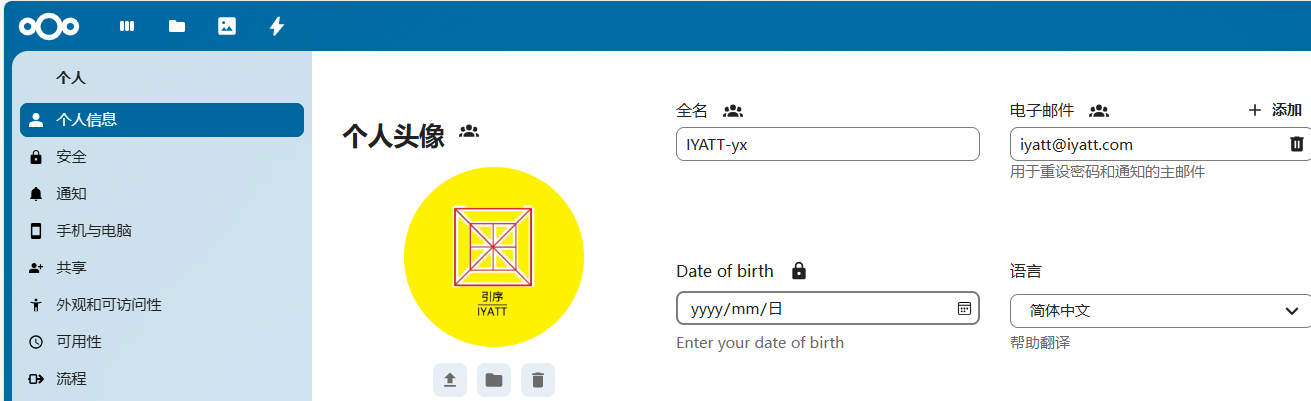
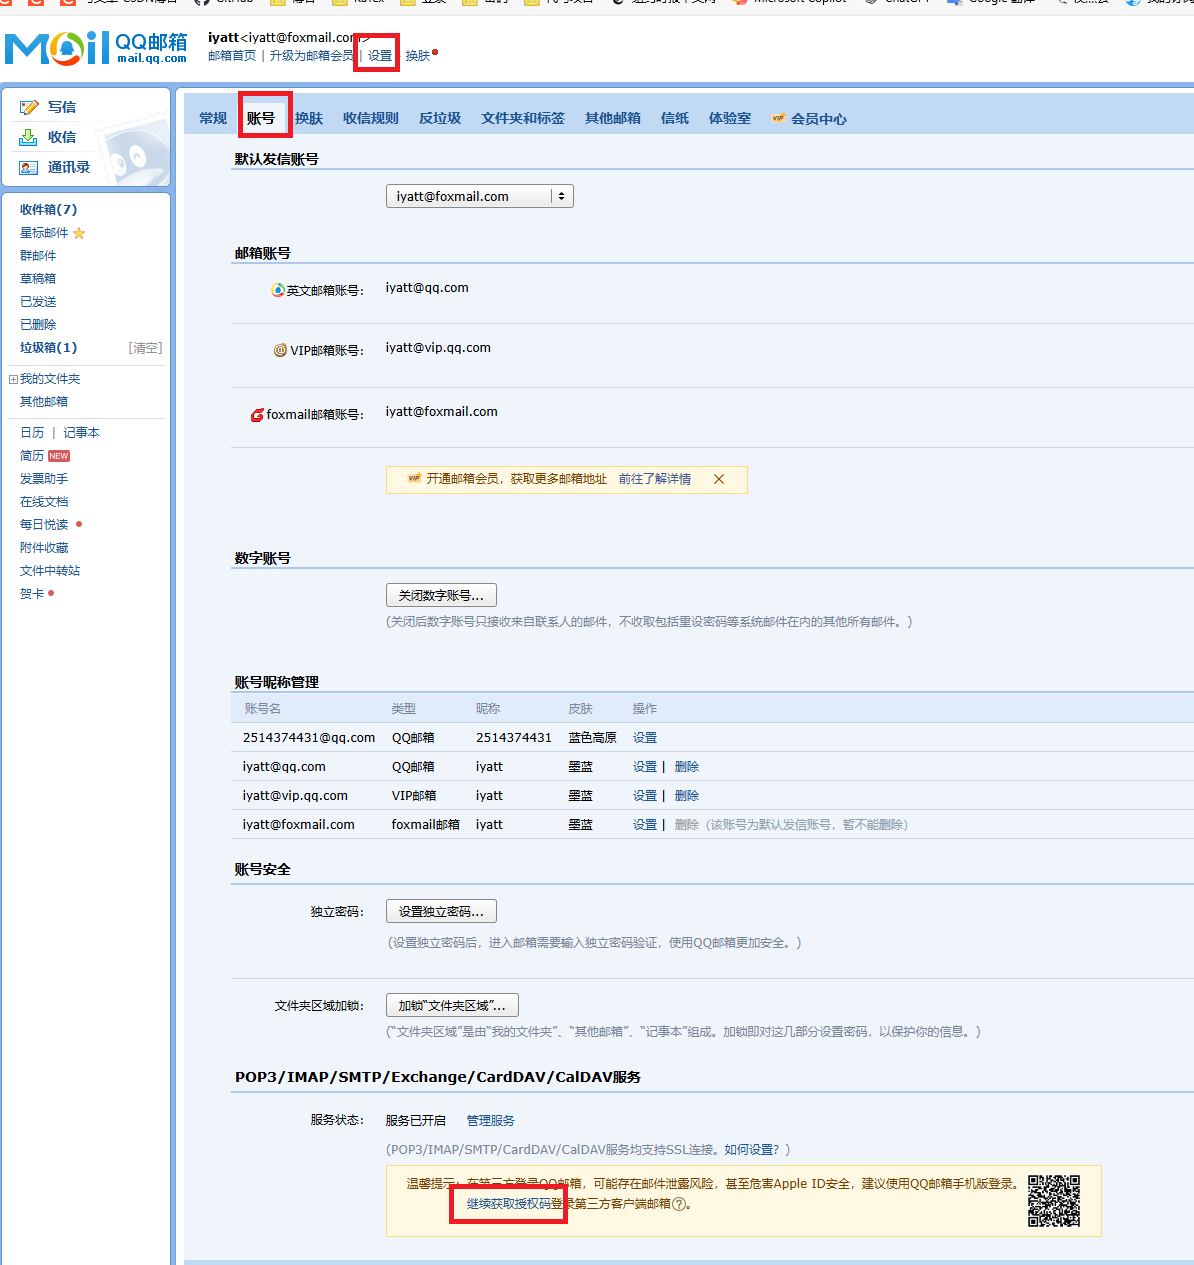
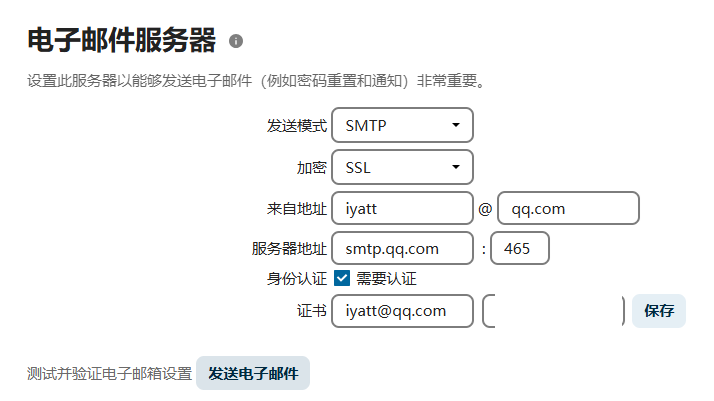
配置电子邮件服务器(发邮件)
先在设置的个人信息里填上邮箱(用于验证接收)
再到基本设置,我这里使用 QQ 邮箱的 STMP 服务来实现发邮件
QQ 邮箱:https://mail.qq.com
获取一个专用的密码
设置默认电话区域
以 root 权限编辑 Nexcloud 目录下的 config/config.php,追加
'default_phone_region' => 'CN',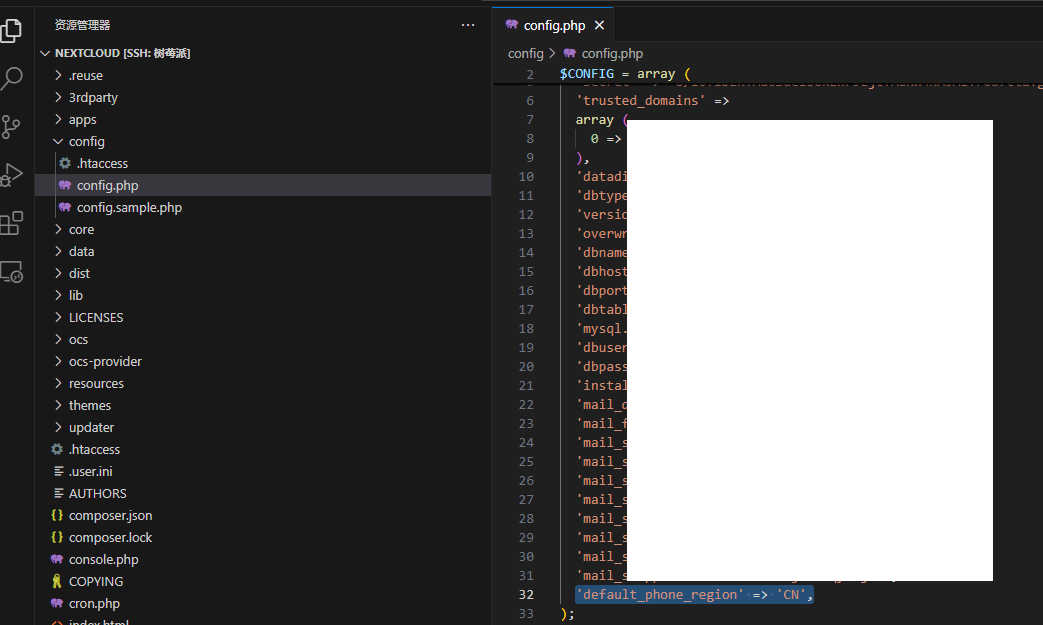
开启 PHP OPcache
开这个就是把编译过的 PHP 脚本缓存到内存里(内存足够的话),这样可以提升性能。
以 root 权限编辑 /etc/php/8.2/fpm/php.ini,找到 [opcache] 添加下面内容(也可以解开注释编辑参数)
opcache.enable=1
opcache.enable_cli=1
opcache.memory_consumption=128
opcache.interned_strings_buffer=16
opcache.max_accelerated_files=10000
opcache.save_comments=1
opcache.revalidate_freq=1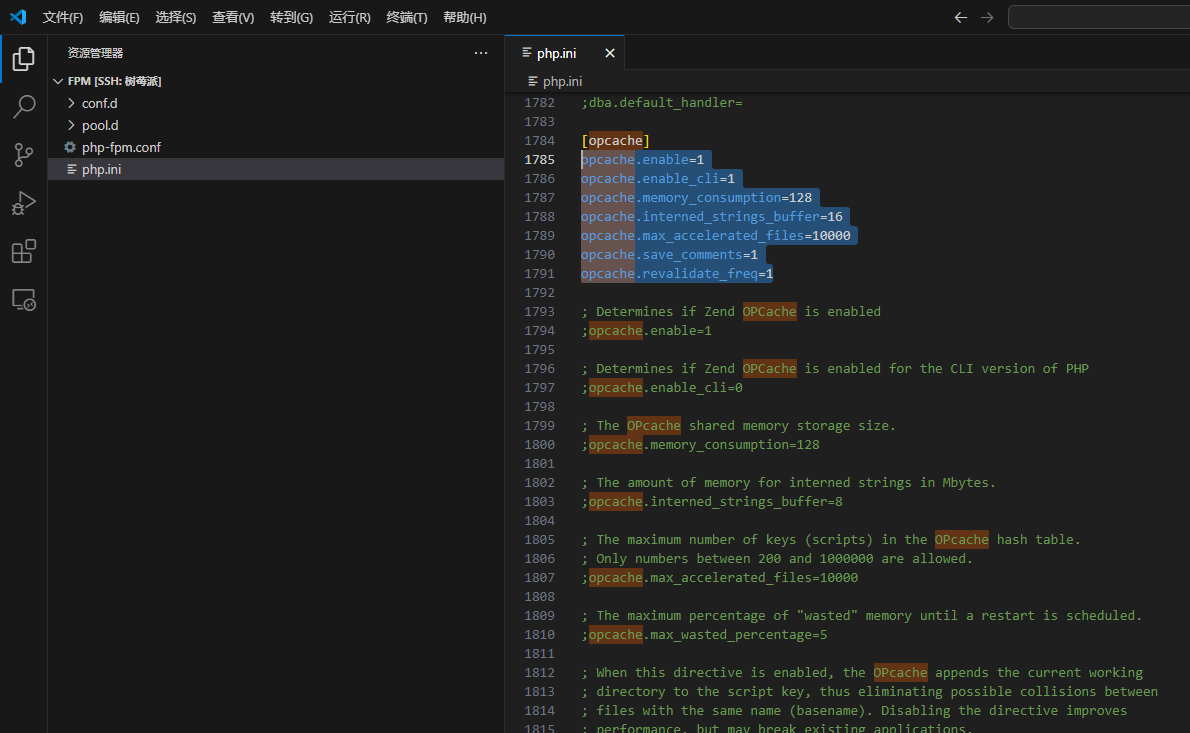
重启 PHP-FPM 生效
解决 PHP 访问环境变量
以 root 编辑 /etc/php/8.2/fpm/pool.d/www.conf,找到 env[PATH]
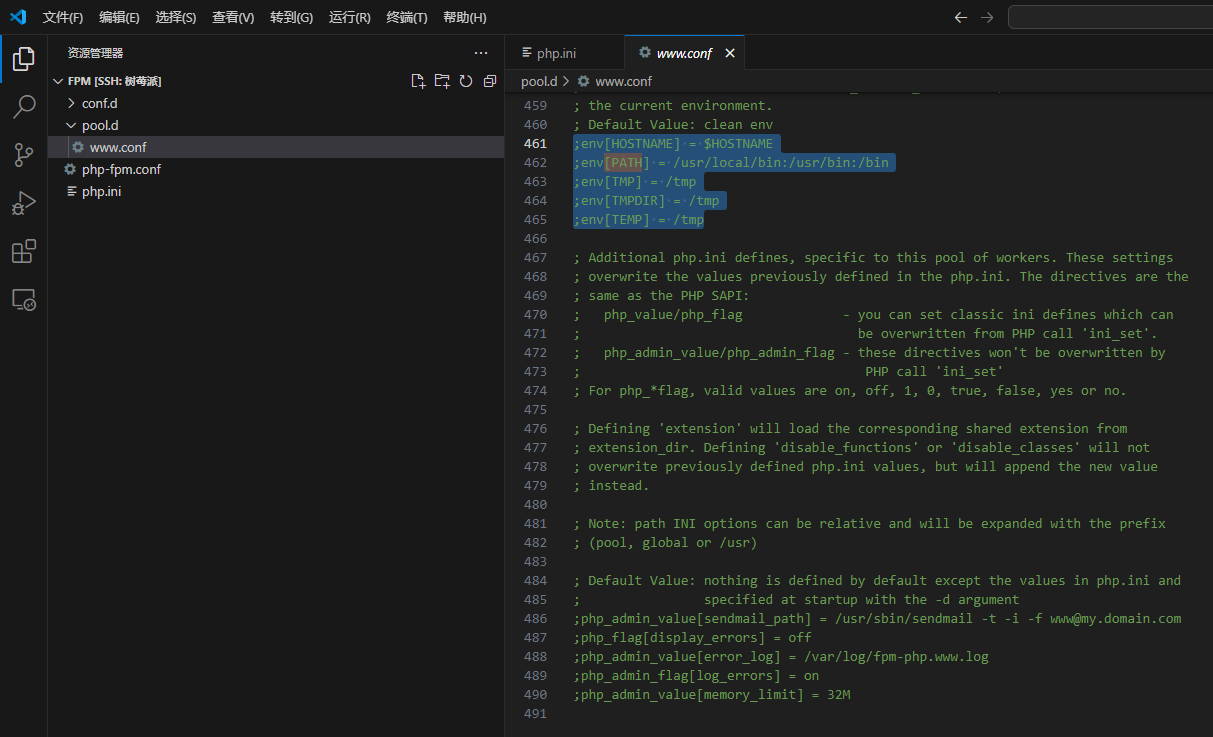
去掉前面的分号
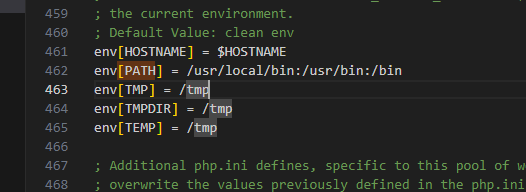
重启 PHP-FPM 生效
添加缺失的索引(Detected some missing optional indices. 问题)
命令行切换到 Nextcloud 路径下,执行
sudo -u www-data php occ db:add-missing-indices
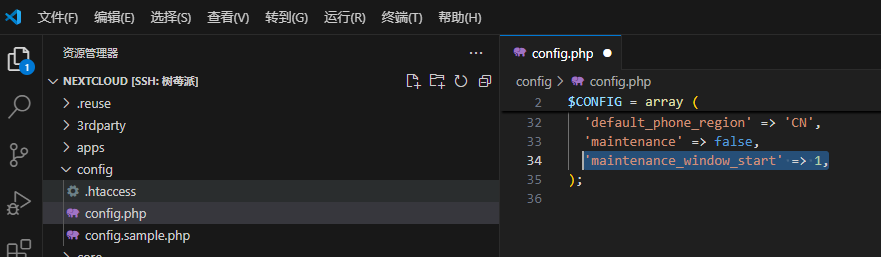
设置维护时间段开始时间
比如将一些复杂操作的时间调整到不常用的时间段,避开使用高峰,默认是任意时间段
以 root 编辑 Nextcloud 目录下的 config/config.php,添加
'maintenance_window_start' => 1,意味着会从凌晨 1 点开始(持续 4 小时)
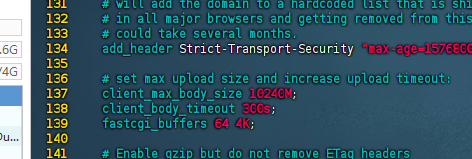
解决 “您的网络服务器未正确设置来解析 .wellknown URL,失败于: /.well-known/webfinger 更多细节”
我这里出现这个问题是因为使用的端口是非标端口,访问链接后面要指定端口,但是这里的跳转没正确处理
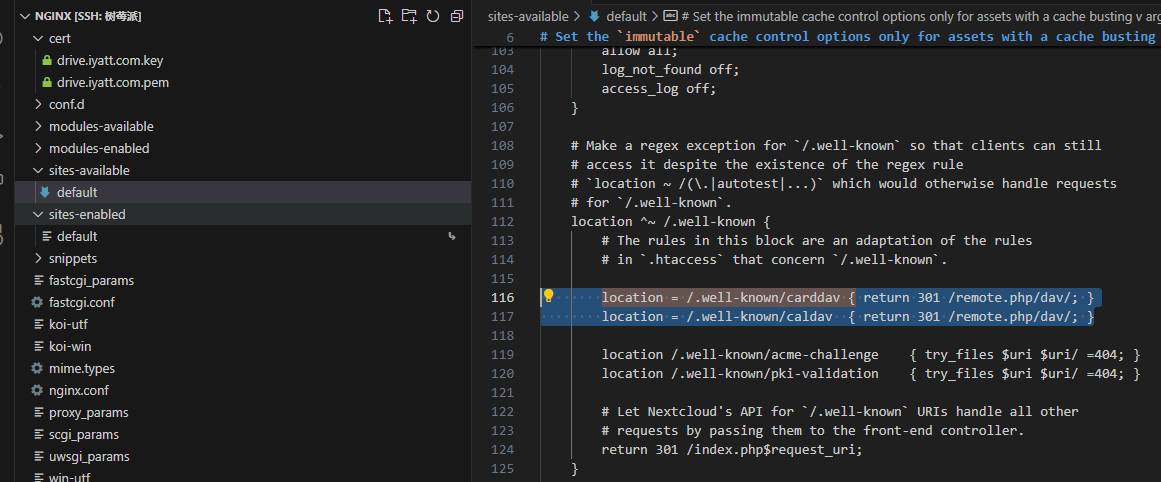
以 root 编辑 /etc/nginx/sites-available/default,把上图选中的两行和后面return那行分别修改为
        location = /.well-known/carddav { return 301 $scheme://$http_host/remote.php/dav/; }
        location = /.well-known/caldav  { return 301 $scheme://$http_host/remote.php/dav/; }

        return 301 $scheme://$http_host/index.php$request_uri;
然后重启 Nginx
修改默认存储路径
编辑 Nextcloud 目录下 config/config.php 中的 datadirectory 值

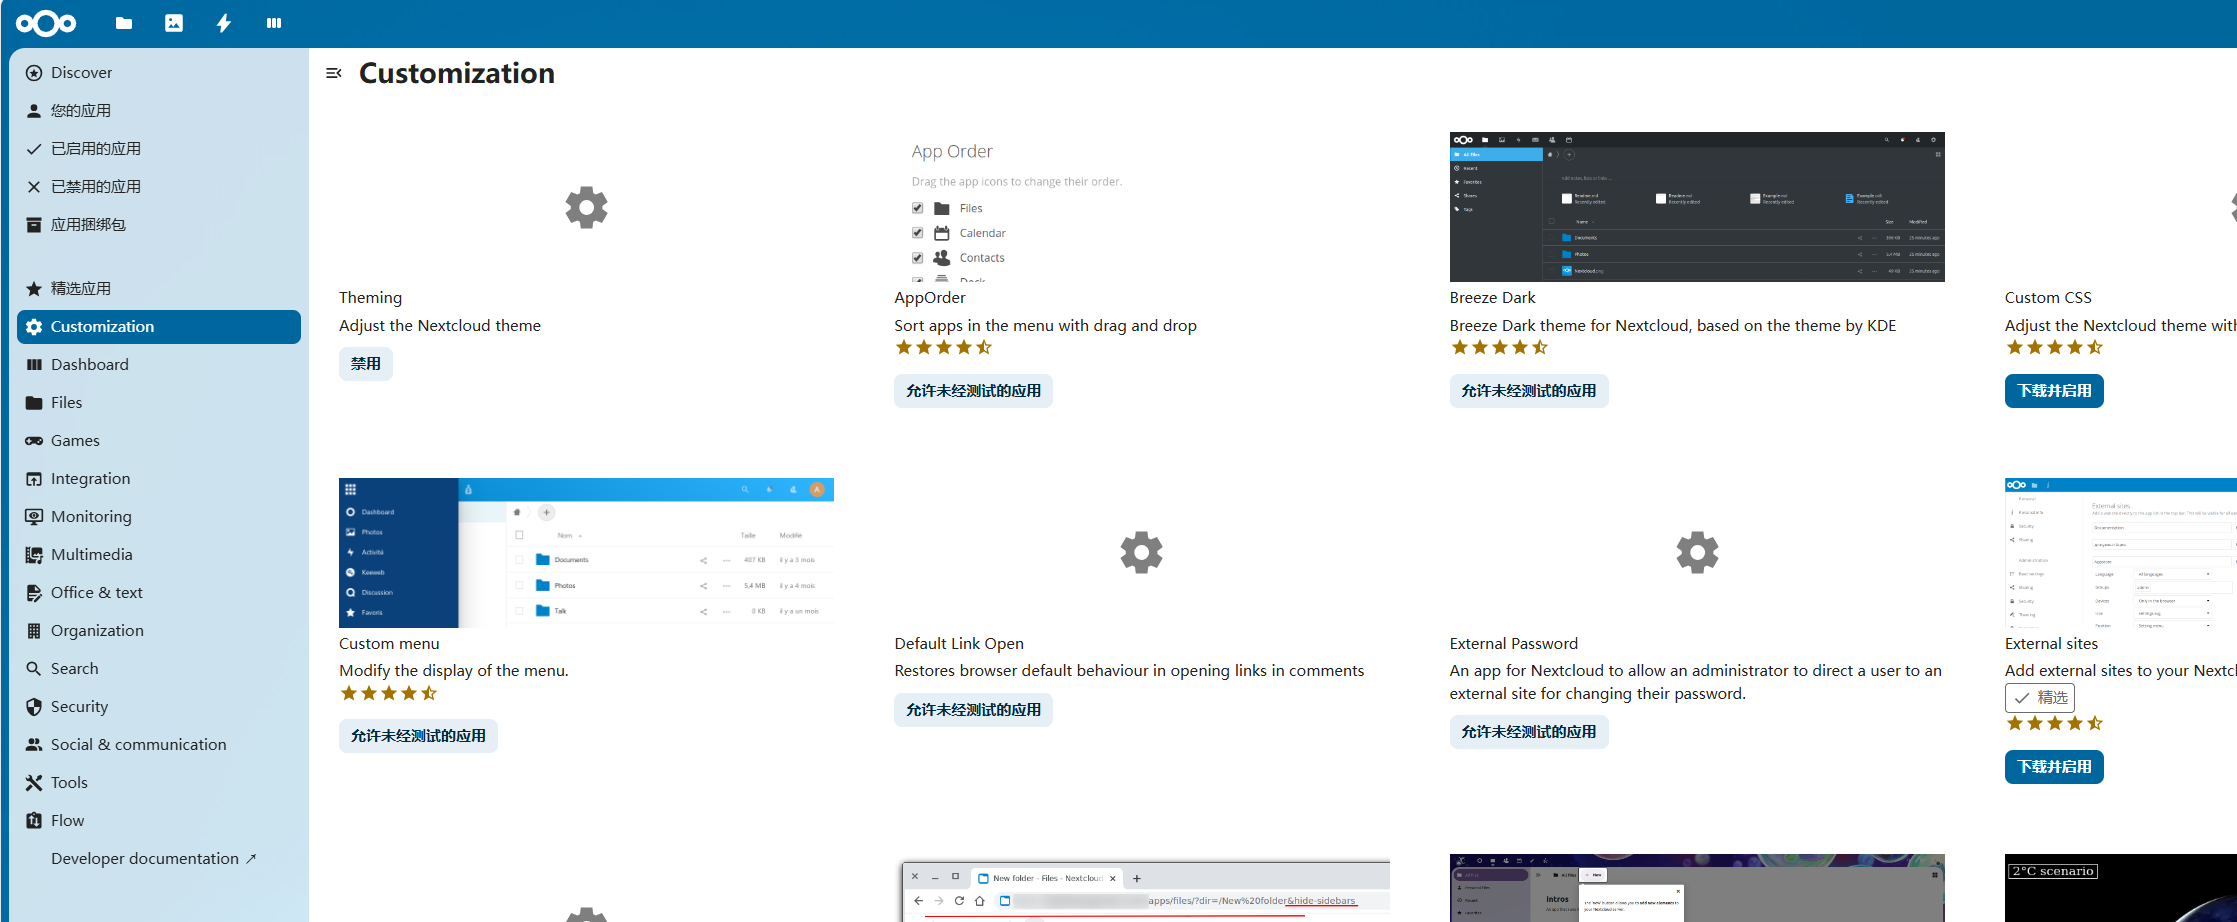
配置局域网代理
如果网络不好,无法访问应用商店
以 root 编辑 Nextcloud 目录下 config/config.php,添加
'proxy' => 'sock5://IP:端口'或
'proxy' => 'http://IP:端口'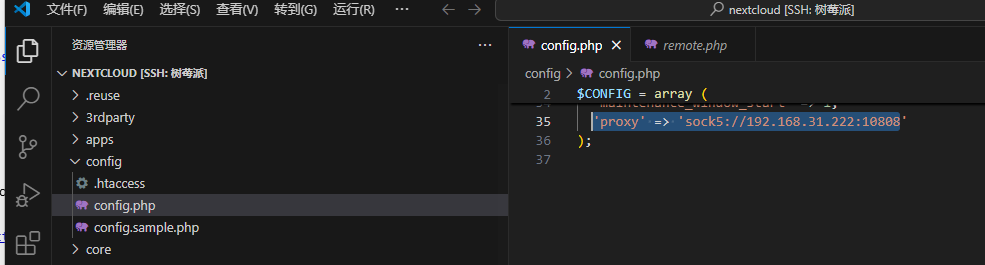
mimetype迁移
在管理员设置概览中提示“One or more mimetype migrations are available. Occasionally new mimetypes are added to better handle certain file types. Migrating the mimetypes take a long time on larger instances so this is not done automatically during upgrades. Use the command occ maintenance:repair --include-expensive to perform the migrations.”时
终端进入 Nextcloud 目录,执行
# 启用维护模式
sudo -u www-data php occ maintenance:mode --on

# 执行迁移
sudo -u www-data php occ maintenance:repair --include-expensive

# 管理维护模式
sudo -u www-data php occ maintenance:mode --off
配置内存缓存
安装 redis 等组件
sudo apt install -y redis php-redis php-apcu以 root 编辑 /etc/redis/redis.conf
找到 unixsocket 和 uxixsocketperm 解开注释,并把权限值改为 770

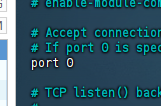
找到 port,把端口号改为 0
redis 内存大小和策略设置可参考:https://blog.iyatt.com/?p=22960
保存退出后重启 redis
# 设置自启动
sudo systemctl enable redis-server

# 重启
sudo systemctl restart redis-server
将 www-data 用户添加到 redis 用户组
# 添加
sudo usermod -aG redis www-data

# 刷新
sudo newgrp redis
测试访问 redis 套接字,显示 PONG 即成功
sudo -u www-data redis-cli -s /var/run/redis/redis-server.sock ping以 root 编辑 /etc/php/8.2/cli/php.ini 添加
[apcu]
apc.enable_cli=1
重启 Nginx 和 PHP-fpm
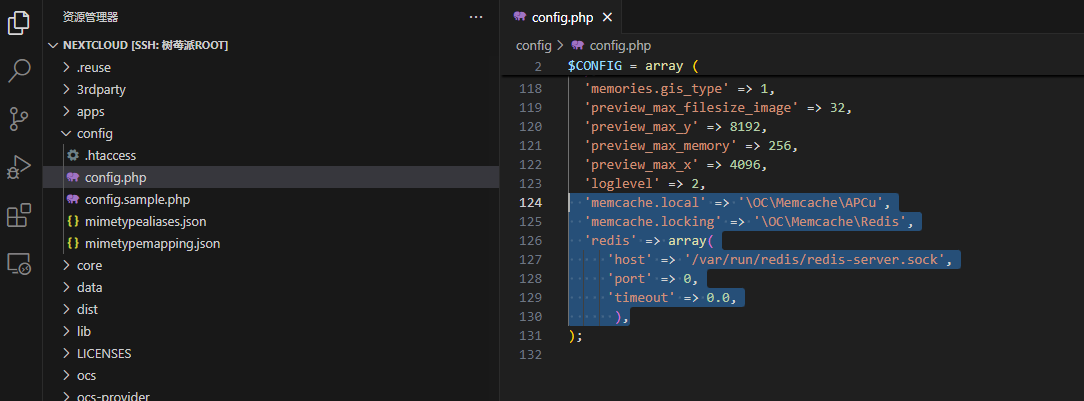
sudo systemctl restart php8.2-fpm.service nginx在 Nextcloud 目录下的 config/config.php 添加
  'memcache.local' => '\OC\Memcache\APCu',
  'memcache.locking' => '\OC\Memcache\Redis',
  'redis' => array(
     'host' => '/var/run/redis/redis-server.sock',
     'port' => 0,
     'timeout' => 0.0,
      ),
上传时发生错误,状态码413
在网页端上传大文件的时候遇到,这个是超出了 Nginx 上传限制导致的。Nextcloud 文档给的 Nginx 模板默认配置是限制 512M,把 client_max_body_size 改大再重启 Nginx 就行,比如我这里直接改成 10240M 即 10G
插件及使用技巧
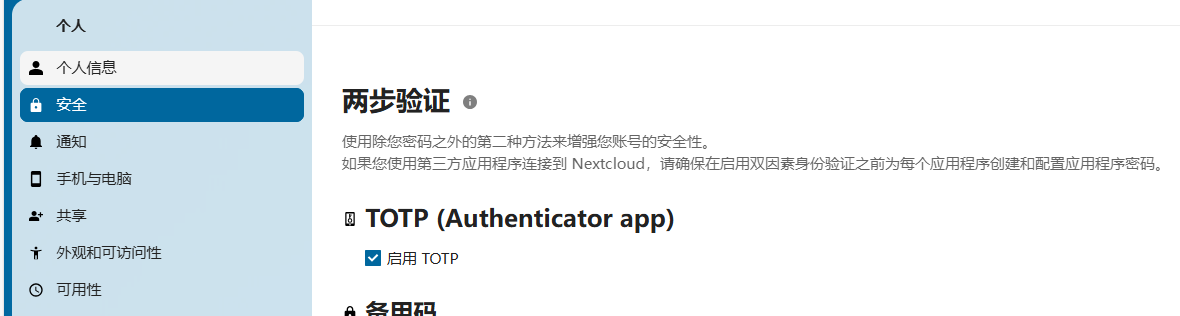
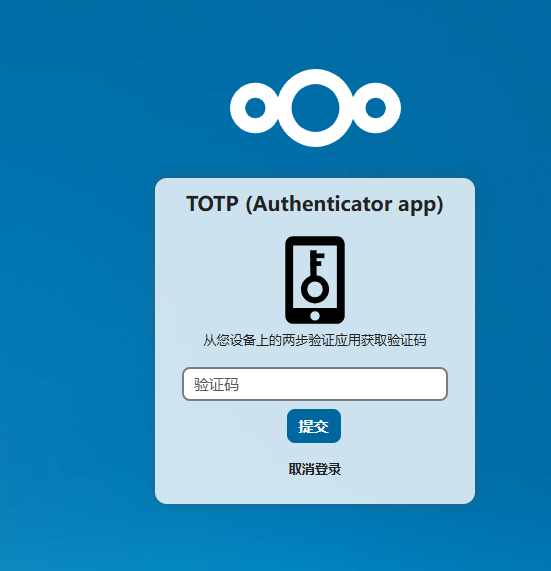
Two-Factor TOTP Provider【二次验证,一次性密码】
可以绑定 APP,通过 APP 查看一次性密码,在登陆时进行验证
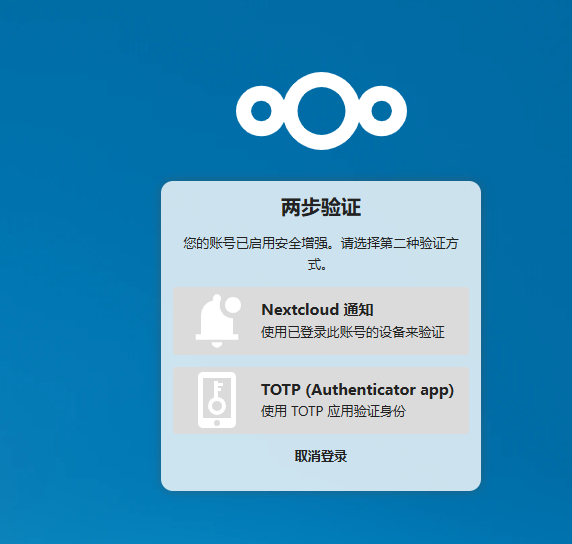
Two-Factor Authentication via Nextcloud notification 【二次验证,已登陆设备验证】
可以发送通知,在已登陆设备的通知里同意登录
External storage support 【存储扩展】
可以向 Nextcloud 中添加存储路径,比如挂载了额外的硬盘,把路径添加进去,也能添加其它共享协议或平台
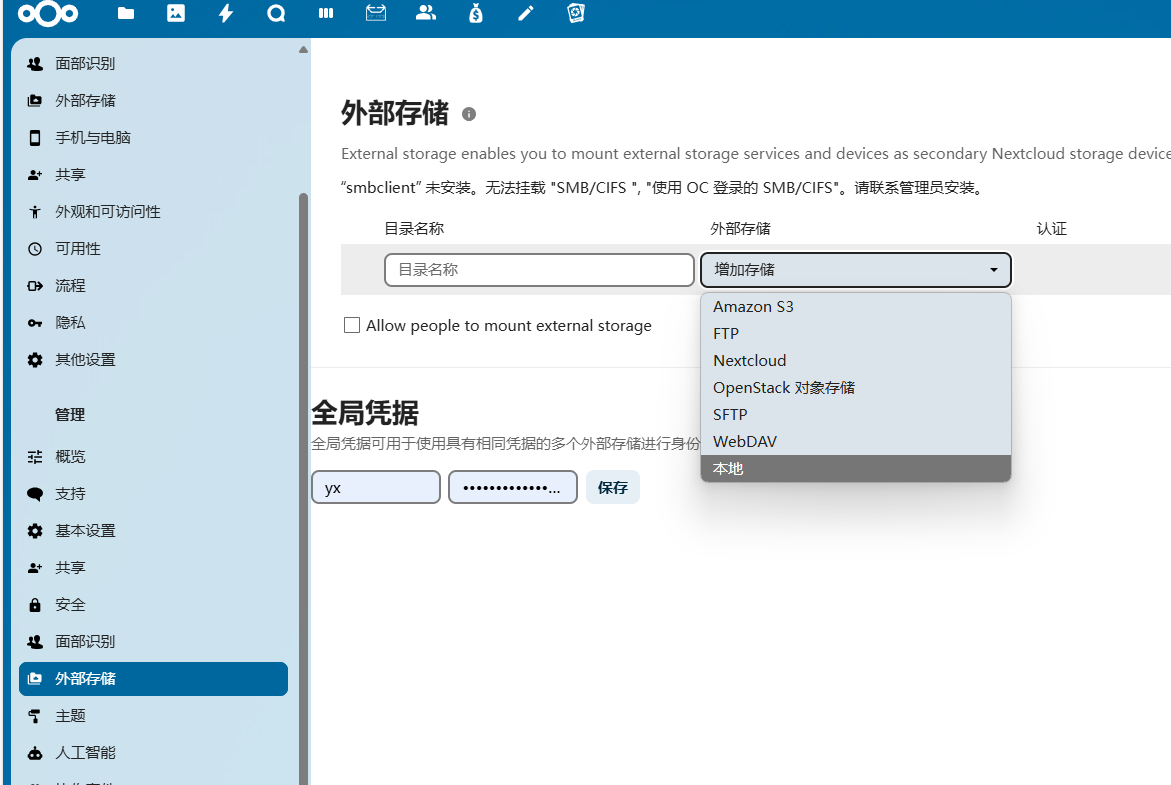
SMB 支持
如果遇到
“smbclient” 未安装。无法挂载 "SMB/CIFS ", "使用 OC 登录的 SMB/CIFS"。请联系管理员安装。配置安装模块
sudo apt install -y smbclient libsmbclient-dev
sudo pecl channel-update pecl.php.net
sudo pecl install smbclient
修改 php.ini 文件,比如默认的 php-fpm 配置文件路径 /etc/php/版本/fpm/php.ini,以 root 用户编辑它,末尾追加
extension="smbclient.so"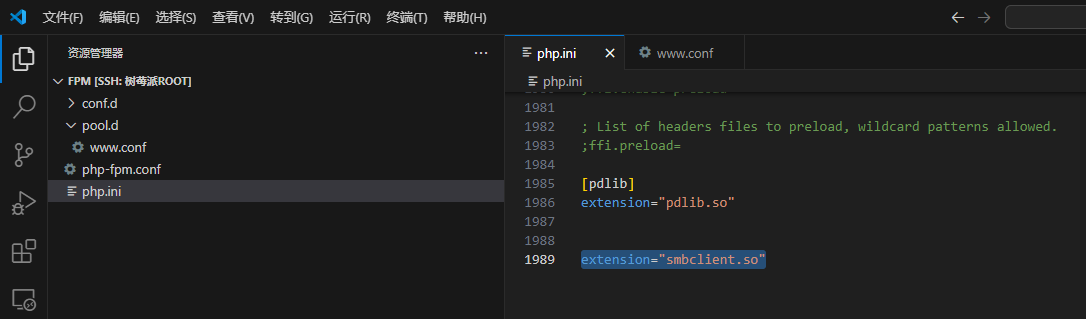
重启 fpm
sudo systemctl restart php版本-fpm.service配置开机自动挂载存储设备
比如我这里额外接了一个 USB 移动硬盘,首先查询一下这个硬盘的 UUID
我这个硬盘的设备文件是 sdb1,如果不知道是哪个的话,在插入存储设备之前执行一下 ls /dev/sd* 查看设备文件,插入硬盘后再执行一次,这样前后对比,新增的设备文件就是,复制出 UUID 值
sudo blkid
创建一个目录用来挂载硬盘
sudo mkdir -p 挂载目录
以 root 用户编辑 /etc/fstab 文件,新增内容格式参考
UUID=【UUID值】挂载的目标路径 存储设备的文件系统 defaults,windows_names,uid=1000,gid=1000,umask=000 0 0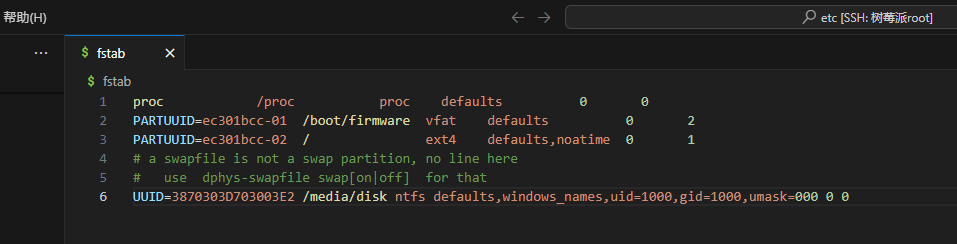
重启系统后就可以自动挂载
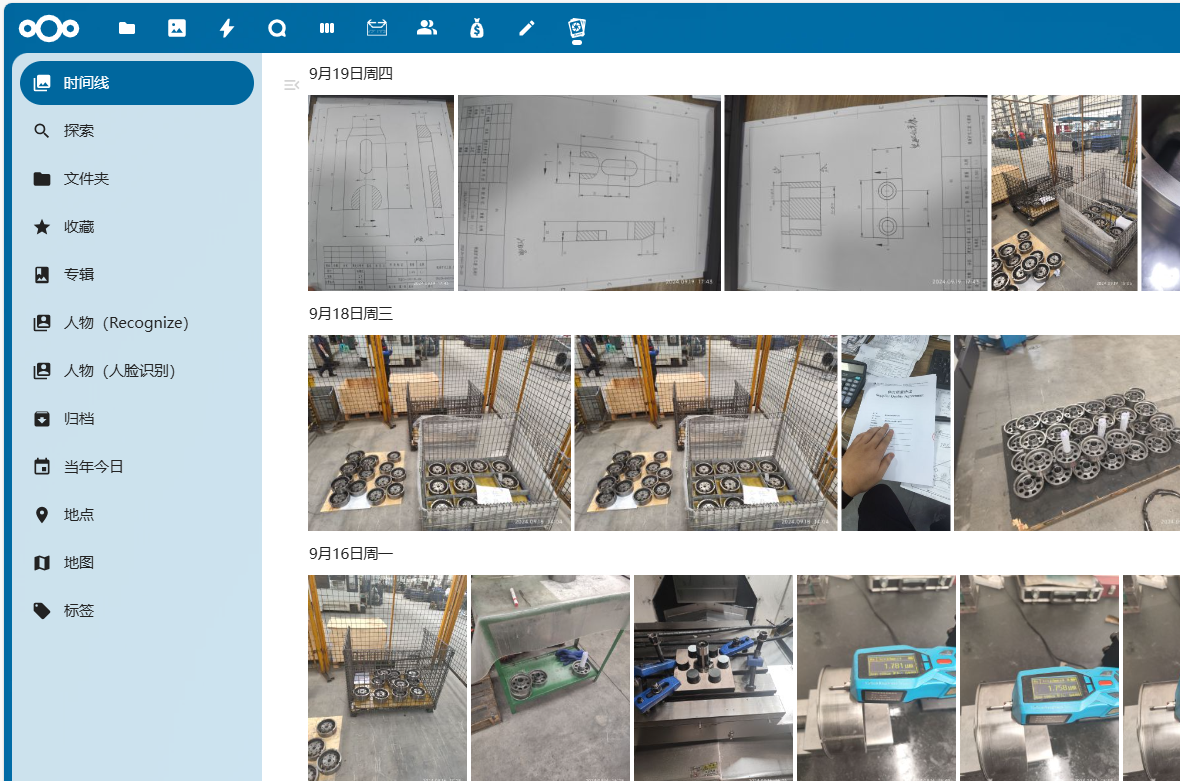
Memories 【相册管理】
安装这个插件后,基本功能可以按时间、文件夹、地理位置管理
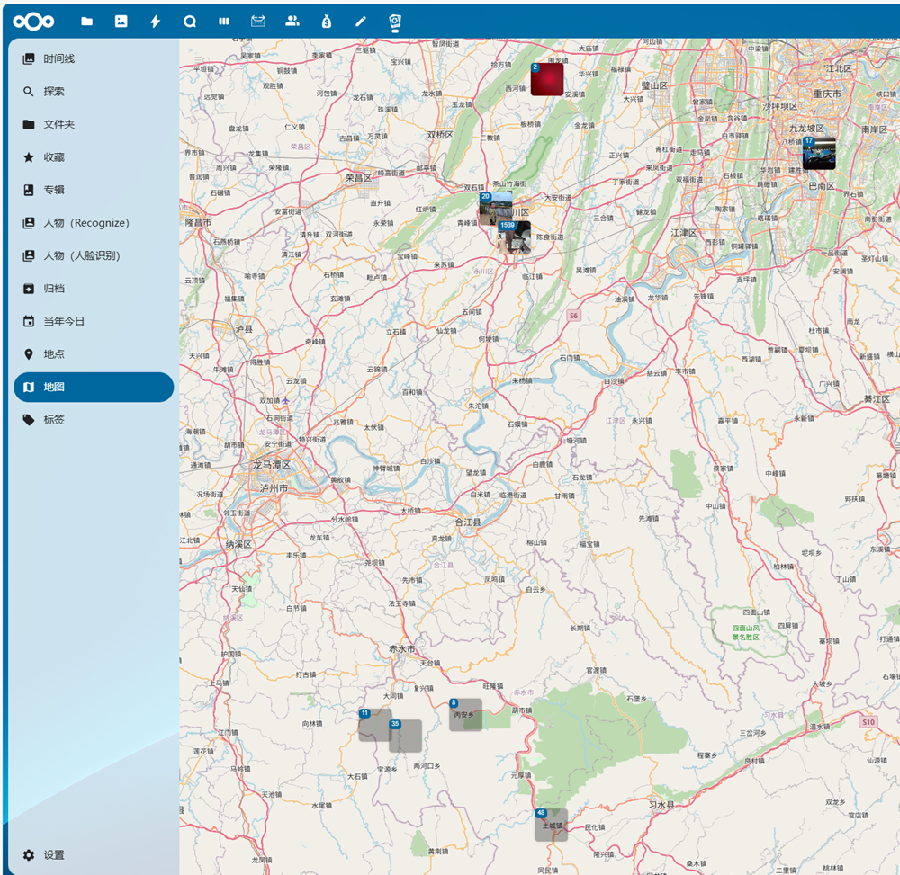
反向地理编码下载地球数据库注意
数据库下载后导入时可能处理超时,如果出现超时失败,可以登录数据库,设置延长限制
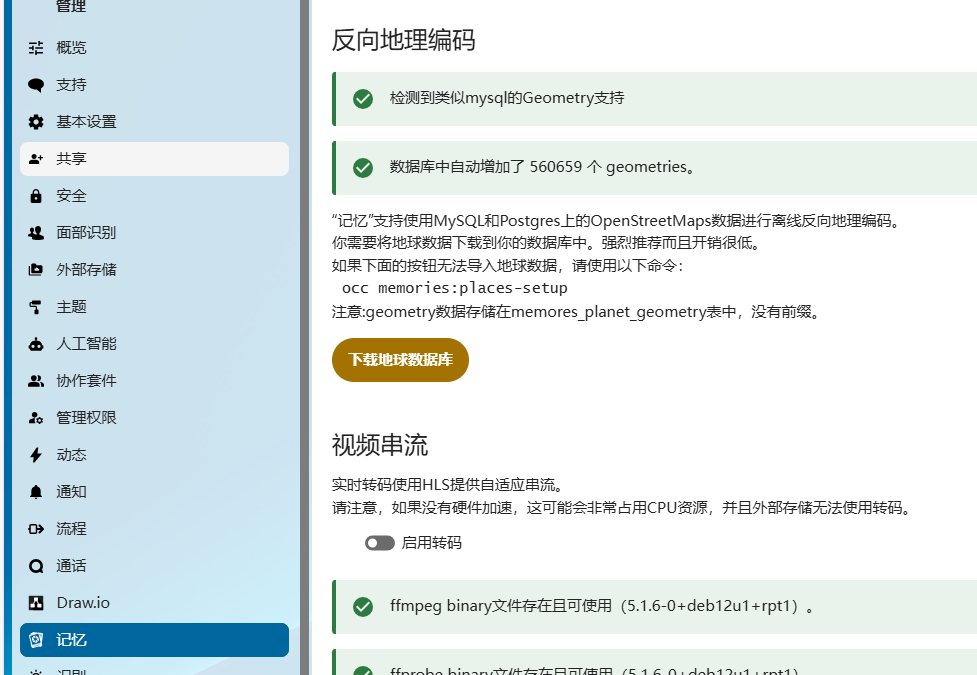
SET GLOBAL wait_timeout = 28800;
SET GLOBAL interactive_timeout = 28800;
图片内容识别功能
可以再安装 Recognize 和 Face Recognition,在此之前最好保证环境配置好
安装 Node.js
# 安装 npm
sudo apt install -y npm

# 安装版本管理工具
sudo npm i -g n

# 更新 Node.js 到最新稳定版
sudo n stable
配置 Composer
# 安装工具
sudo apt install -y build-essential git

# 获取源码
git clone https://github.com/composer/getcomposer.org.git --depth=1 && cd getcomposer/web

# 构建
bash installer

# 拷贝到系统目录
mv composer.phar /usr/local/bin/composer
安装 PDLIB(人脸识别需要)
# 安装构建工具
sudo apt install -y cmake php-dev

# 获取 DLIB 源码
cd /tmp && git clone https://github.com/davisking/dlib.git --depth=1 && cd dlib/dlib

# 创建编译目录
mkdir build && cd build

# 生成编译脚本
cmake -DBUILD_SHARED_LIBS=ON ..

# 编译
make -j$(nproc)

# 安装
sudo make install

# 获取 PDLIB 源码
cd /tmp && git clone https://github.com/goodspb/pdlib.git && cd pdlib

# 生成编译 PHP 扩展的配置文件
phpize

# 配置编译
./configure --enable-debug
# you may need to indicate the dlib install location
# PKG_CONFIG_PATH=/usr/local/lib/pkgconfig ./configure --enable-debug

# 编译
make -j$(nproc)

# 安装
sudo make install
编辑 PHP 配置文件 /etc/php/8.2/fpm/php.ini,写入
[pdlib]
extension="pdlib.so"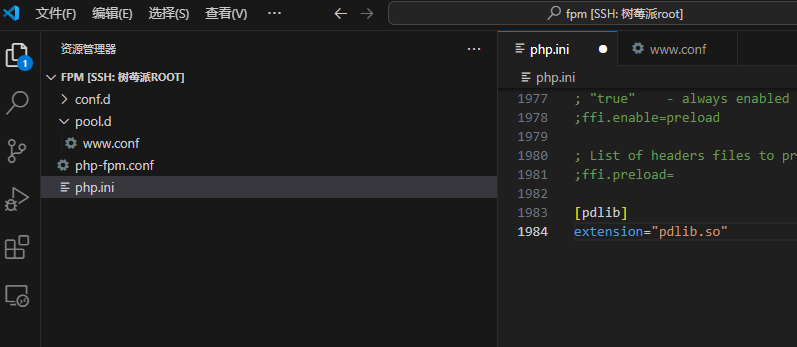
重启 PHP 服务
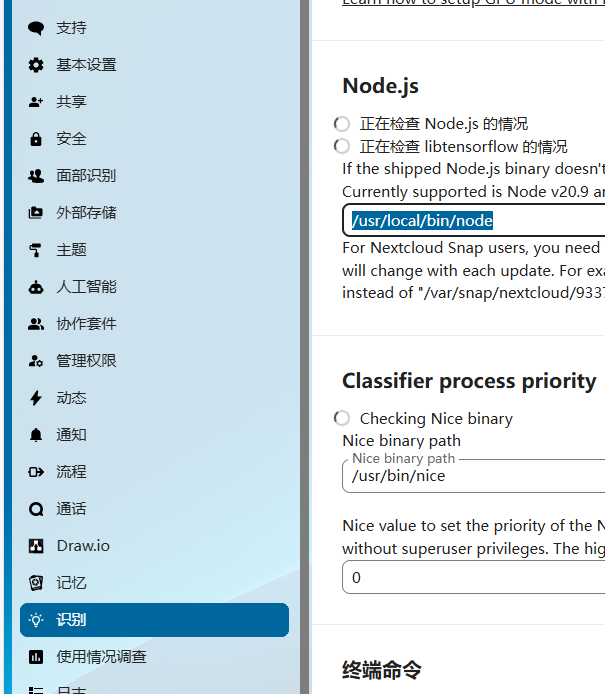
sudo systemctl restart php8.2-fpm安装前面提到的两个插件并启用后,管理设置中,配置好 node 路径 /usr/local/bin/node
终端进入 Nextcloud 根目录,安装预览生成器
sudo -u www-data php occ app:install previewgenerator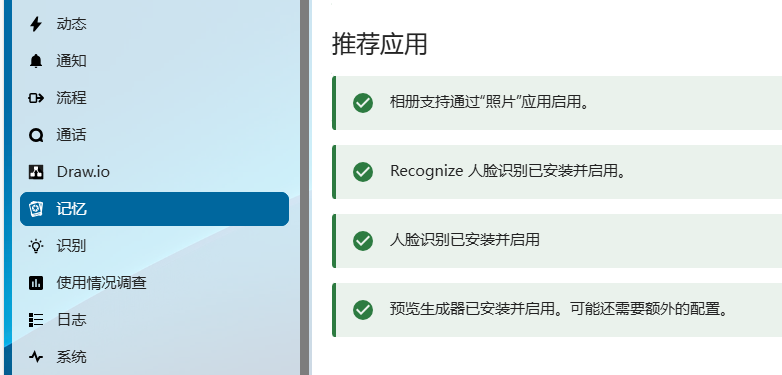
可选的人脸识别模型:https://github.com/matiasdelellis/facerecognition/wiki/Models#install-models
在 Nextcloud 目录下执行下载模型
# 设置可用内存大小,比如 2G
sudo -u www-data php occ face:setup -M 2G
# 设置模型,比如选 1
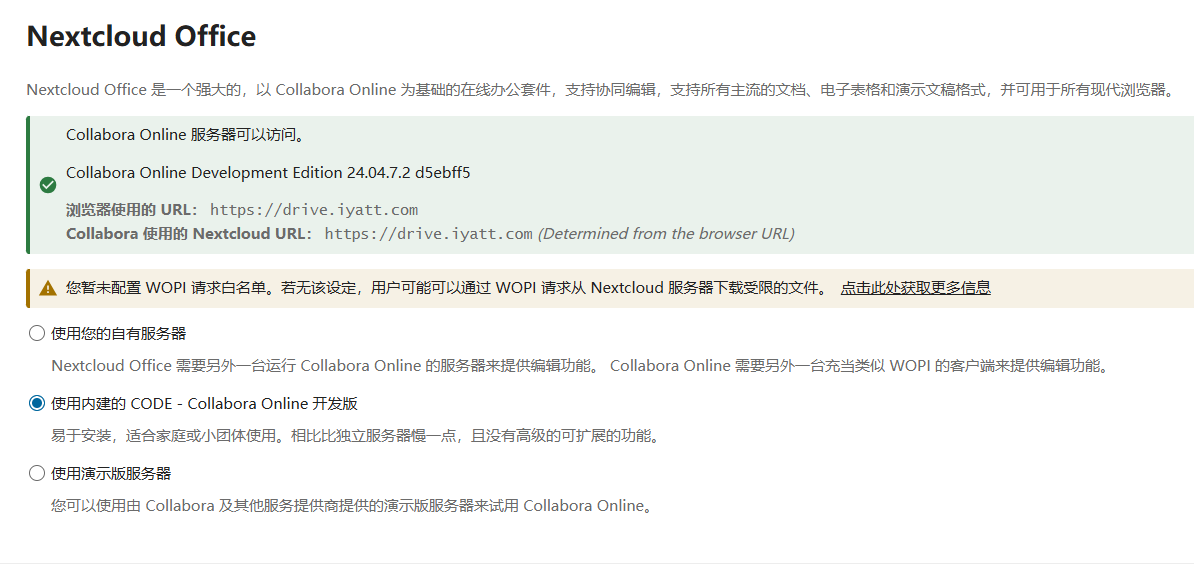
sudo -u www-data php occ face:setup -m 1Nextcloud Office 【在线文档支持】
需要独立搭建 Collabora Online 服务器,或者使用内建版(功能没那么丰富),内建版可以切换终端路径到 Nextcloud 下,然后安装
sudo -u www-data ./occ app:install richdocumentscode_arm64设置选内建版,会提示安装用什么命令(不同架构可能不同)
然后在 Nginx 关于 Nextcloud 的配置中加上
(参考:https://www.collaboraonline.com/blog/connecting-collabora-online-built-in-code-server-with-nginx/ )
# Collabora Online 支持
location ~ \.php(?:$|/) {
# Required for legacy support
rewrite ^/(?!index|remote|public|cron|core\/ajax\/update|status|oc[ms]\/v[12]|updater\/.+|oc[ms]-provider\/.+|.+\/richdocumentscode_arm64\/proxy) /index.php$request_uri;
fastcgi_split_path_info ^(.+?\.php)(/.*)$;
set $path_info $fastcgi_path_info;
try_files $fastcgi_script_name =404;
include fastcgi_params;
fastcgi_param SCRIPT_FILENAME $document_root$fastcgi_script_name;
fastcgi_param PATH_INFO $path_info;
fastcgi_param HTTPS on;
fastcgi_param modHeadersAvailable true; # Avoid sending the security headers twice
fastcgi_param front_controller_active true; # Enable pretty urls
fastcgi_pass php-handler;
fastcgi_intercept_errors on;
fastcgi_request_buffering off;
fastcgi_max_temp_file_size 0;
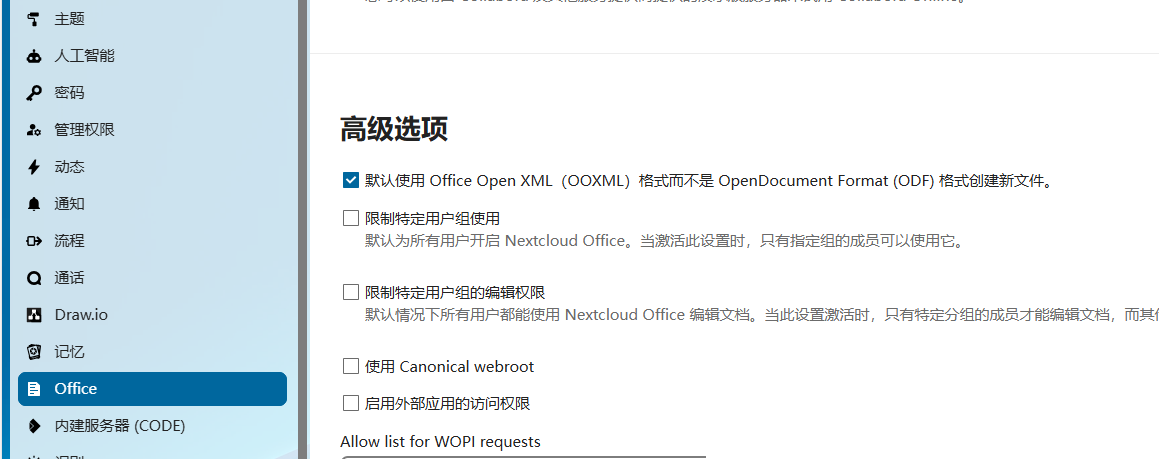
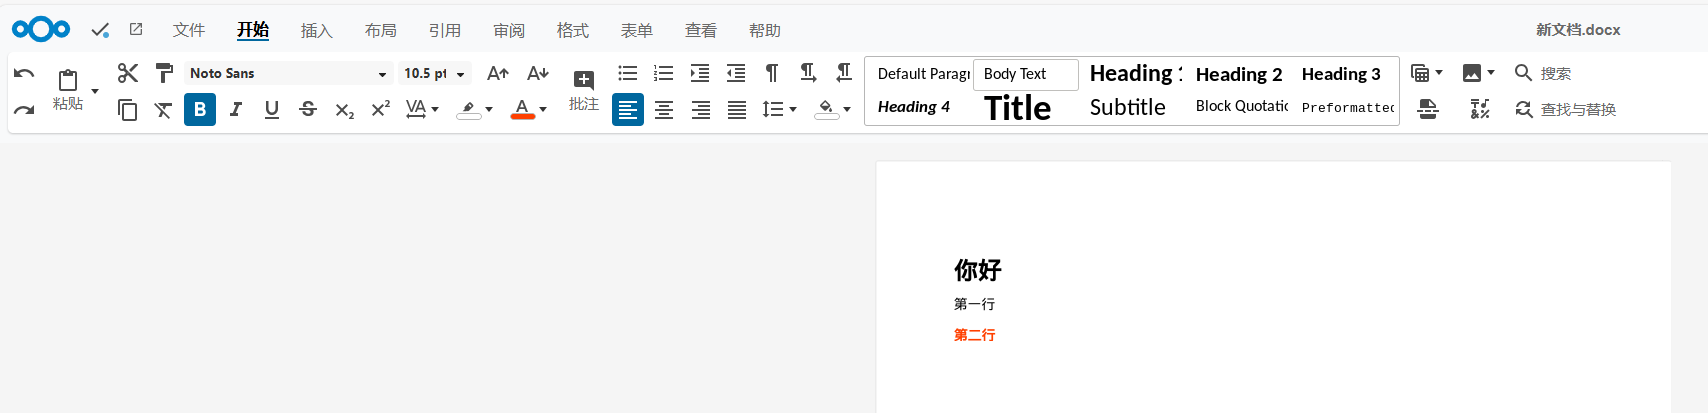
}重启 Nginx 服务器,之后在 Nextcloud 中就能使用在线文档了
设置勾选 office open xml,默认就会使用微软的 office 格式
Music 音乐
支持组织网盘上的音频文件
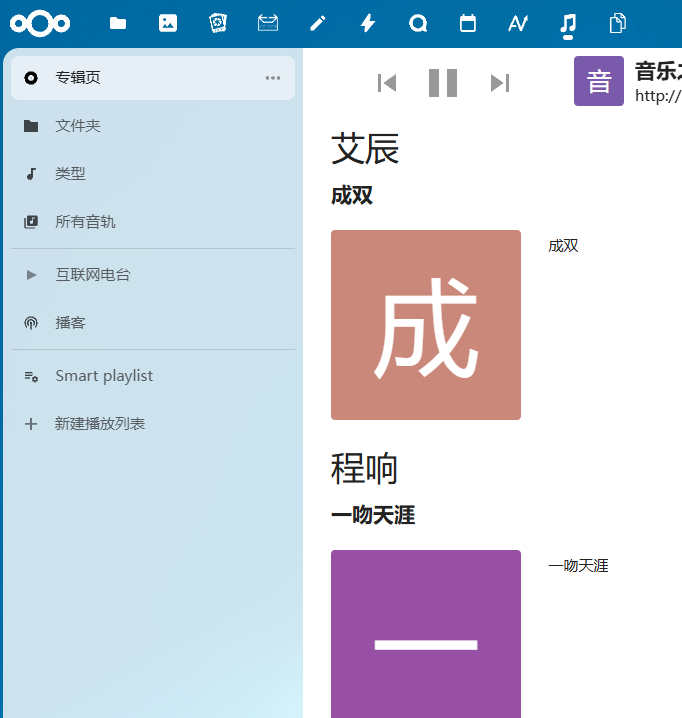
支持互联网电台,可以添加广播电台的流媒体链接听广播
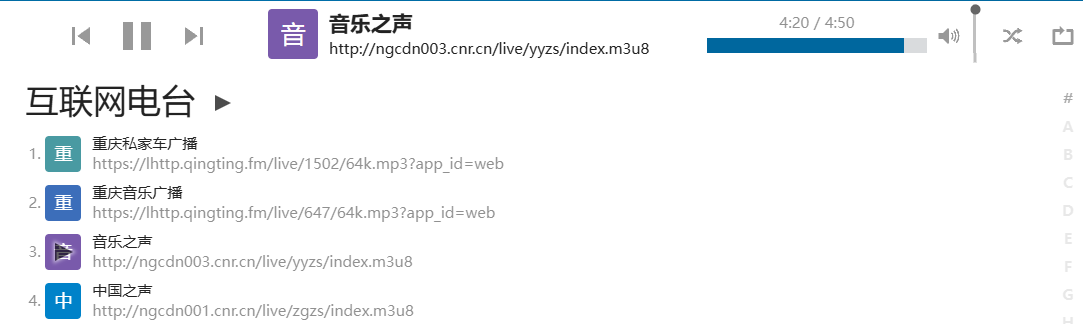
世界广播地图:https://worldradiomap.com/zhongwen
可以在这个网站听广播,也能获取流媒体链接添加到 Nextcloud
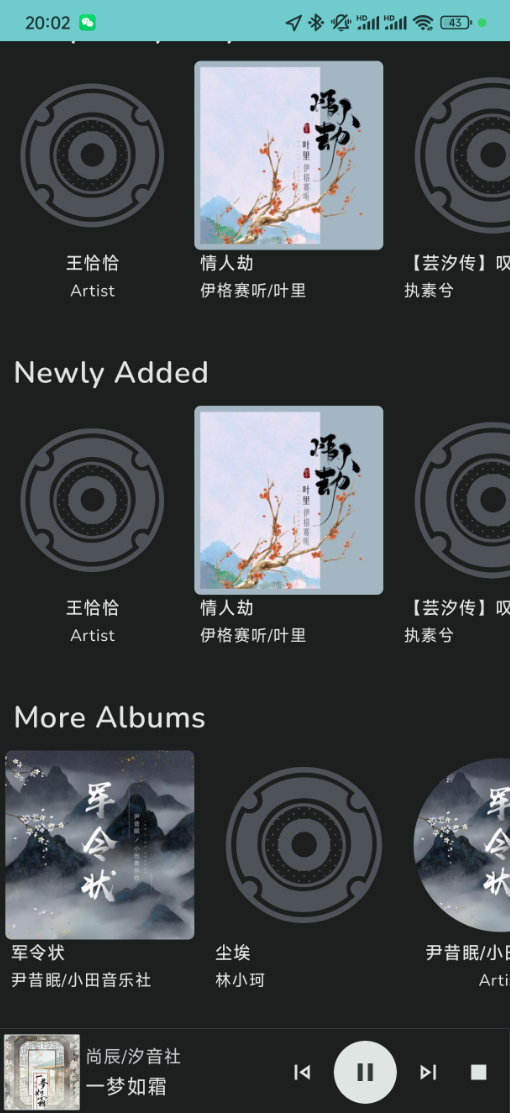
手机端音乐方案 – Power Ampache 2
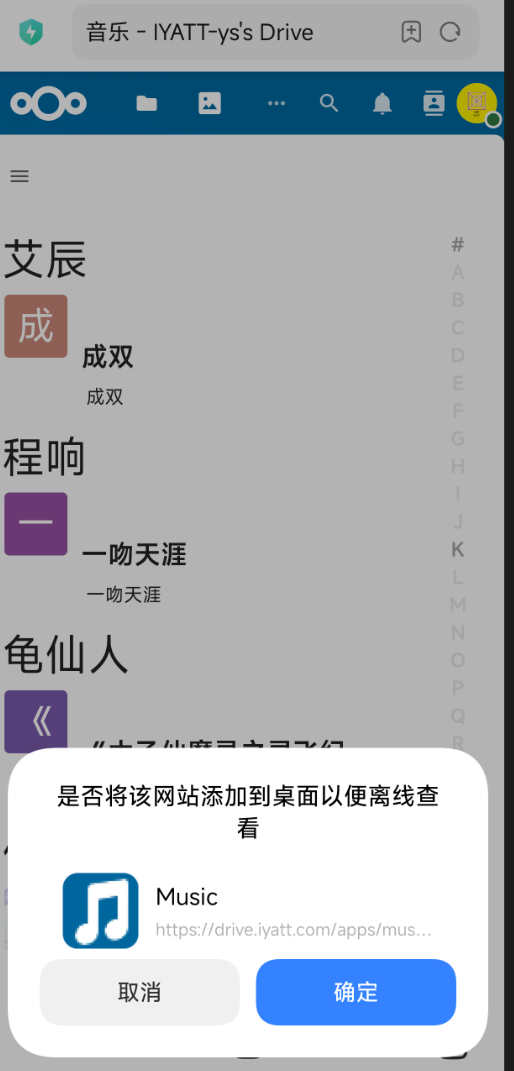
NextCloud 手机客户端里用不了这个插件,只是本身单曲选中播放倒是可以,浏览器打开网页倒是可以使用,但是没法后台保持播放。因为手机的电源策略,打开的网页切换到后台或者熄屏不久就会关闭播放,但是又不想要把浏览器设置成电源不限,这样浏览器就会一直在后台运行。
好在这个插件提供了 Ampache 和 Subsonic 方案,可以使用第三方的 APP 连接使用,上面有超链接指引推荐的 APP
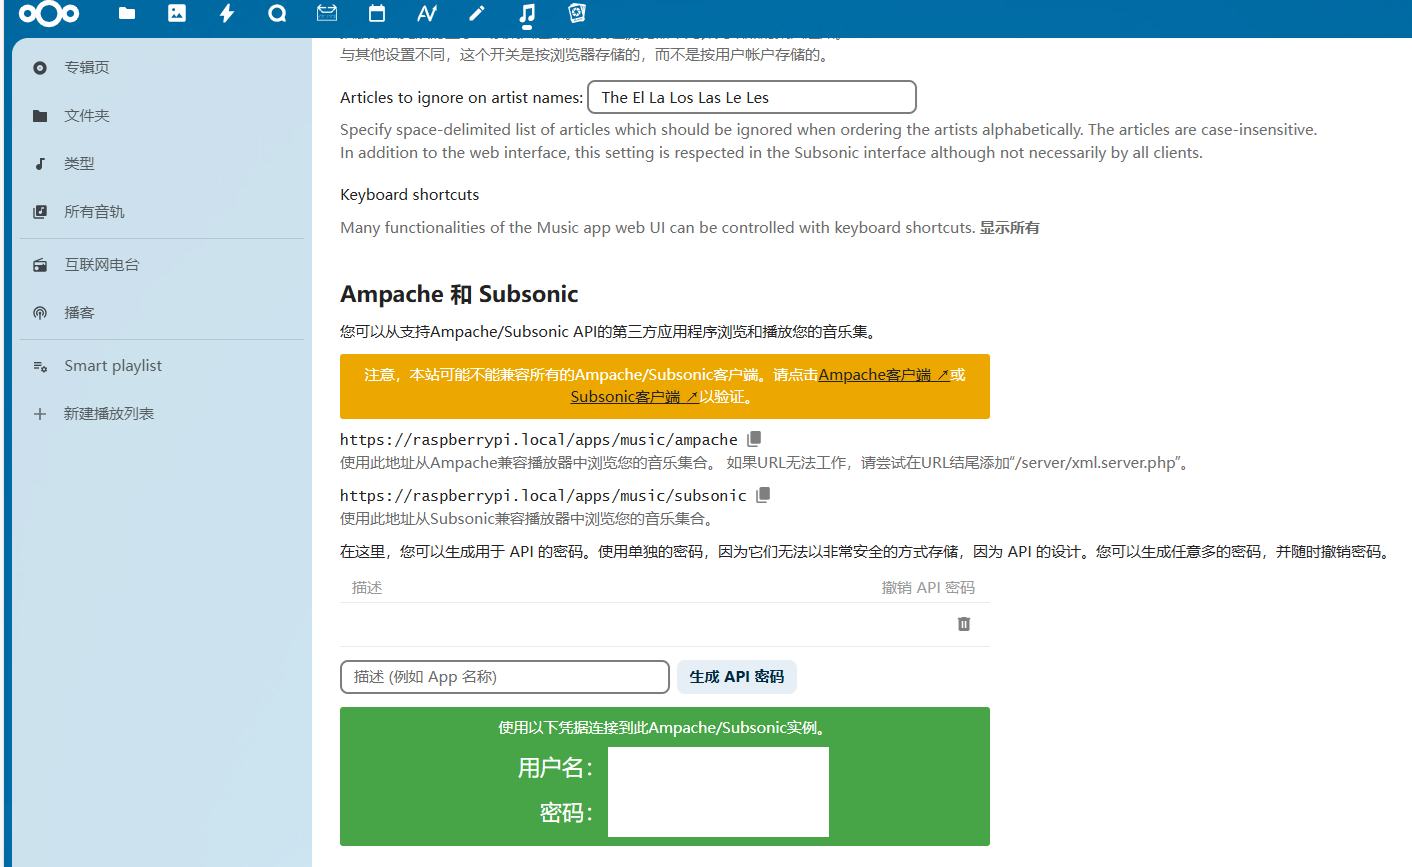
我是 Android 手机,使用的 Power Ampache 2,在 Google Play 上安装是收费的,不过 GitHub 也提供了安装包,可以自己下载安装。
手机端音乐方案 – amcfy-music(推荐)
见:https://blog.iyatt.com/?p=23653
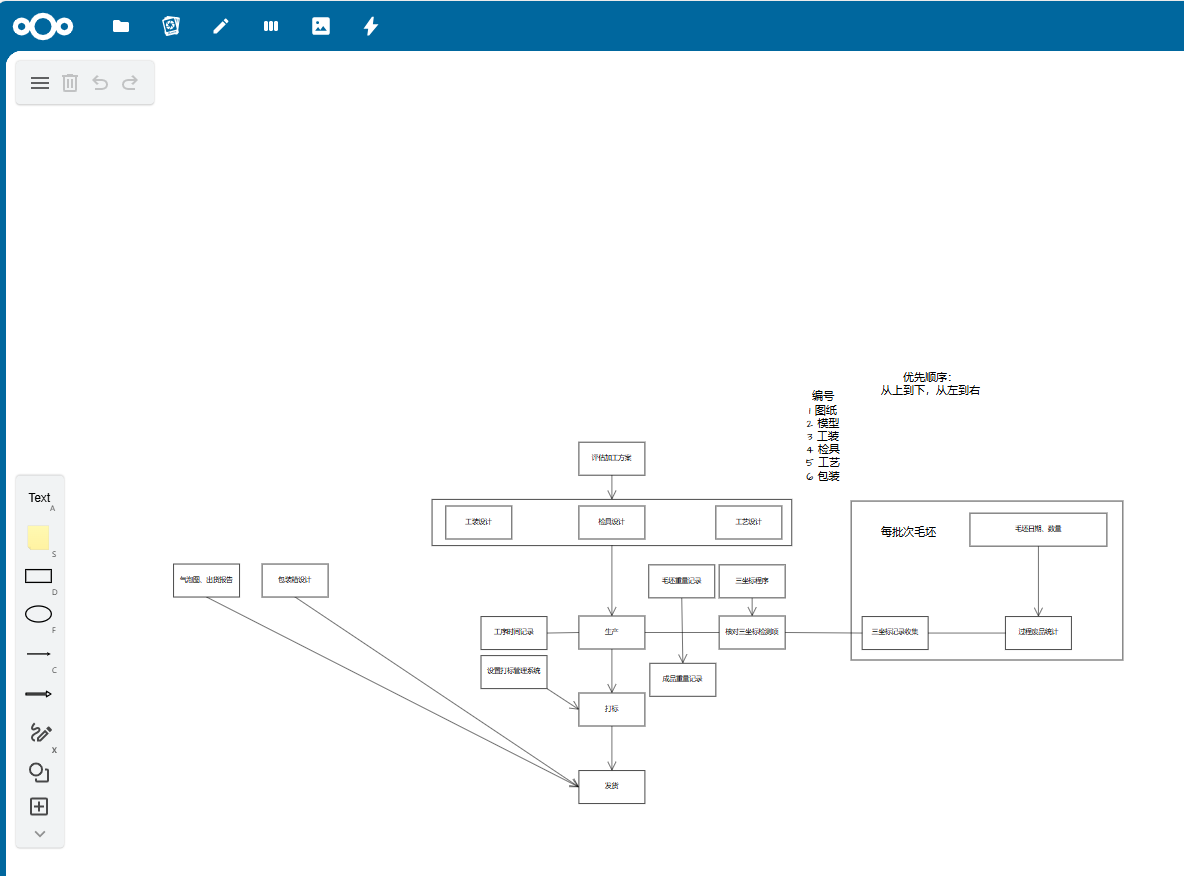
Draw.io 绘图
Draw.io 本身是个开源工具,可以用来绘制思维导图等,这里安装这个插件后可以在 Nextcloud 网盘在线编辑
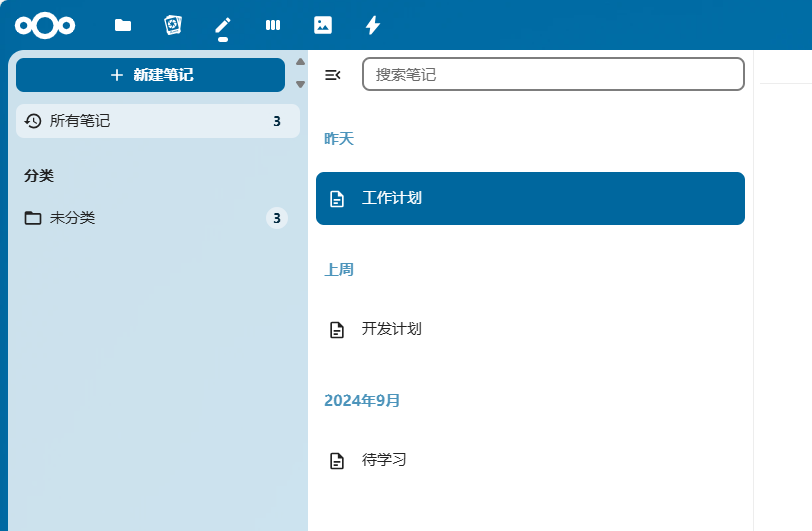
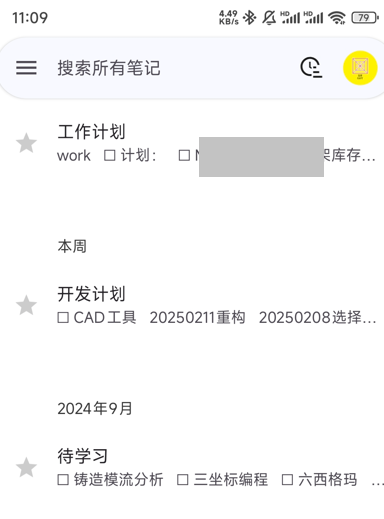
notes 笔记
可以在线编辑 Nextcloud 上的 Markdown 格式的文本,有手机端 APP,也可以网页在线使用。以前我都用小米笔记,现在就是用这个。
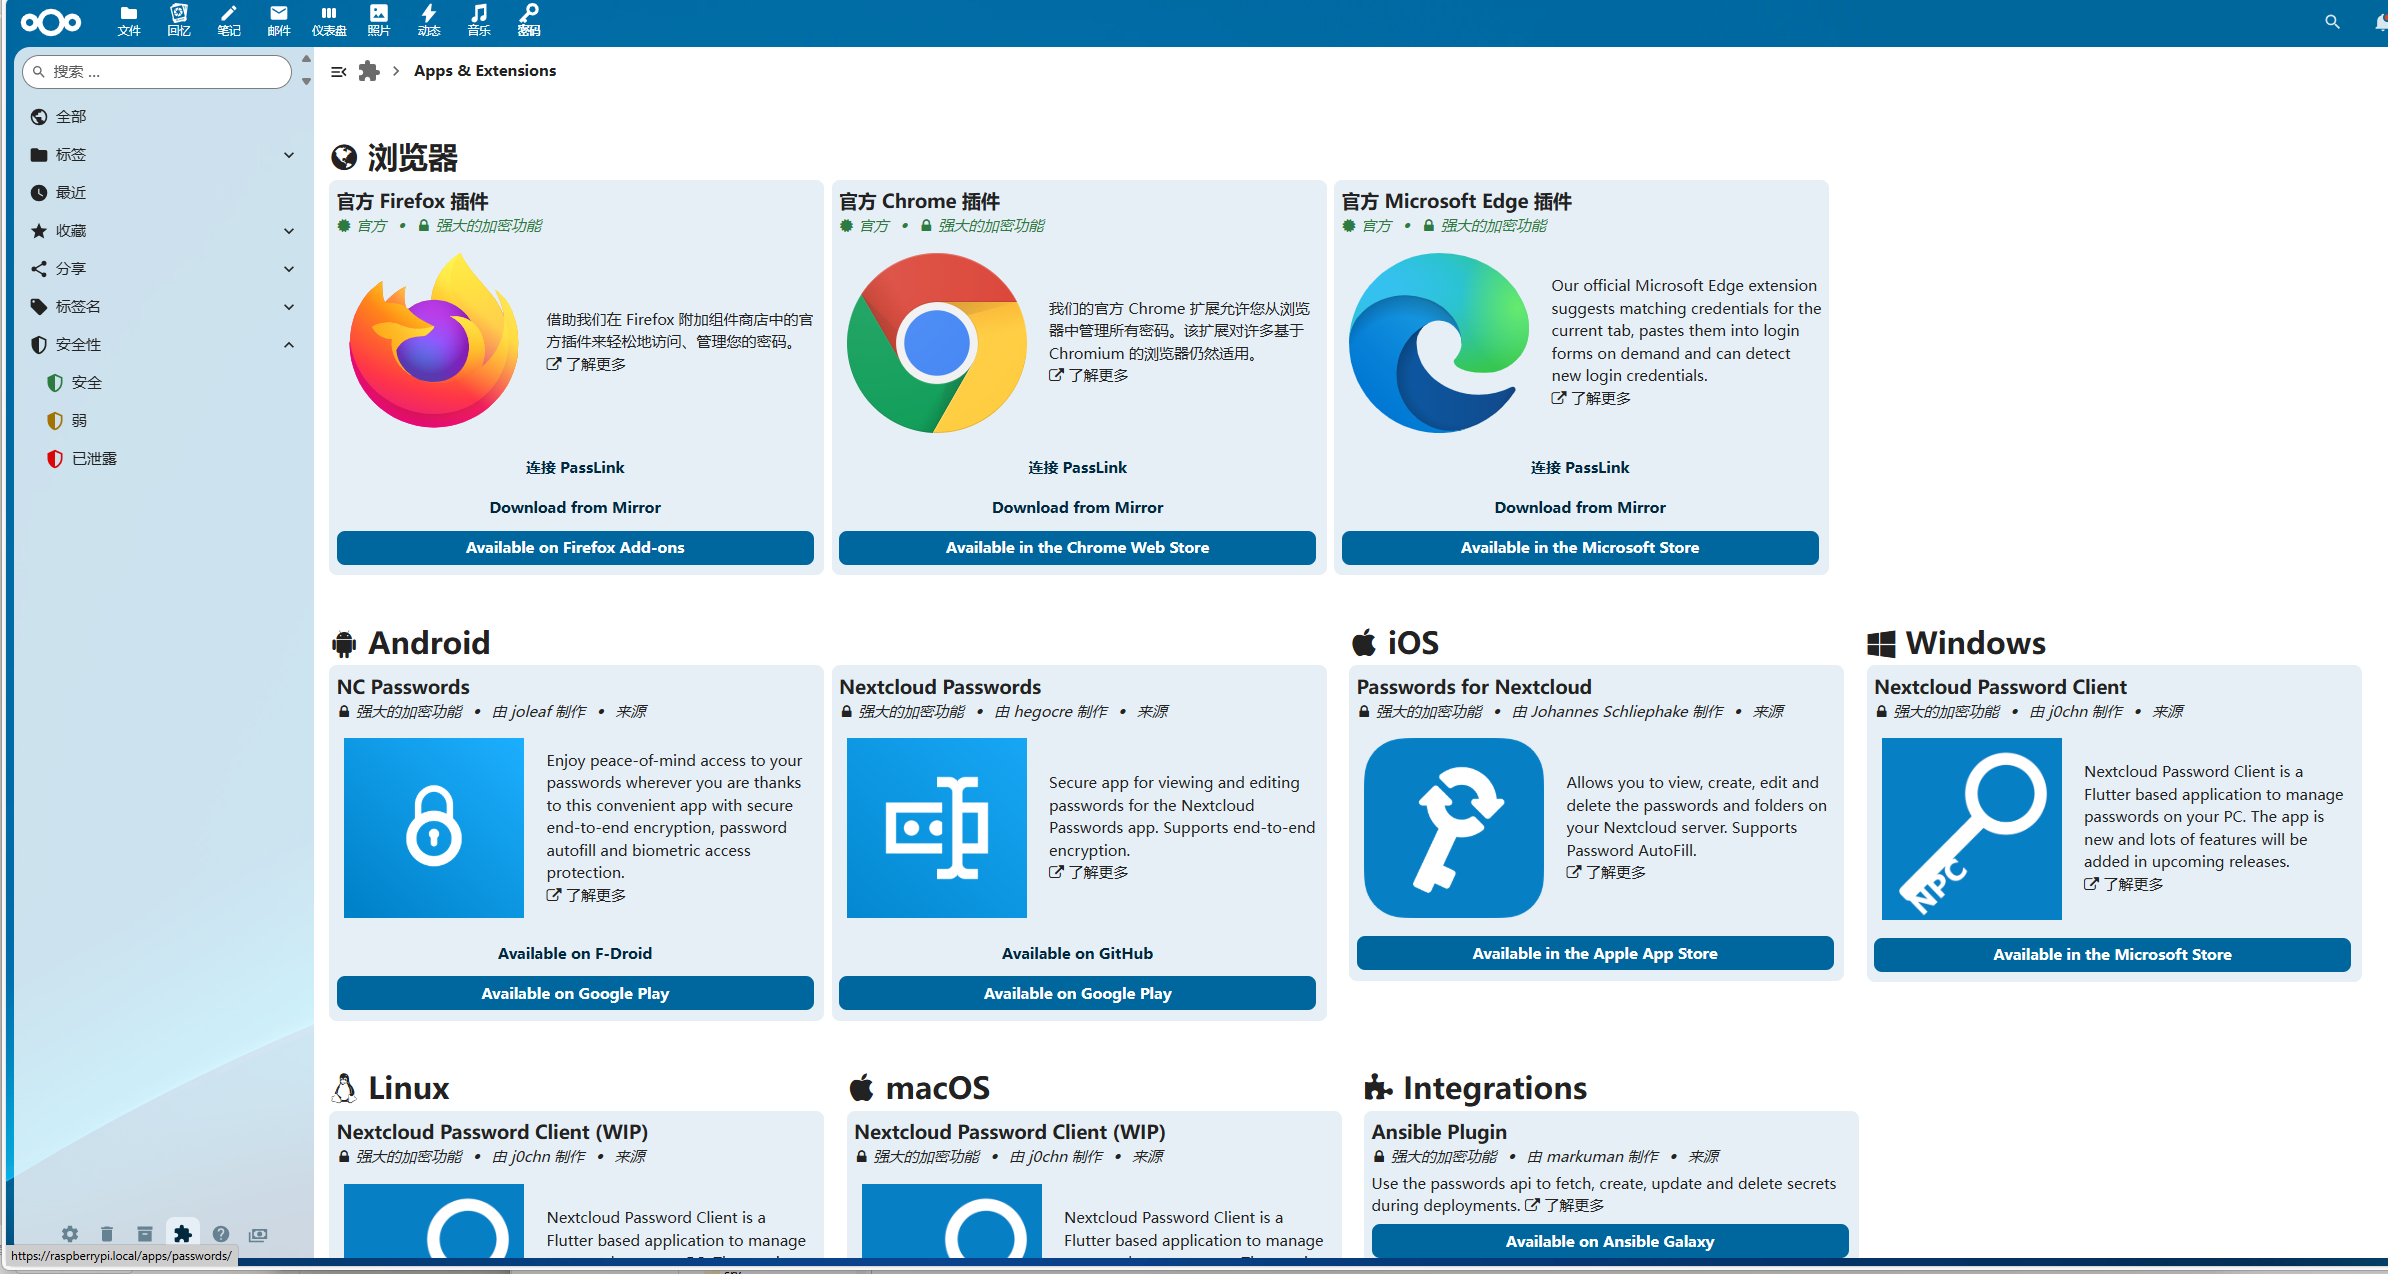
passwords 密码
详情介绍:https://apps.nextcloud.com/apps/passwords
用于同步密码,支持自动填充,各平台都有配套应用使用